# Uploading images
You can upload images from different sections of your DG1 Admin panel and use many different kinds of images for your online store, including your company logo, product images, slideshows, banners, galleries, blog posts images, newsletter images, and more. Depending on how and where you want to use the image, it might be best to upload it in a certain size or format. If you can’t, don’t worry. We’ve got you covered. DG1’s unique image cropper will help you get the correct size and layout of your image in no time.
# On this page
# Upload images to Files
You can upload images to your website as it comes and when you need to, or you can upload images from the Files section of your DG1 platform.
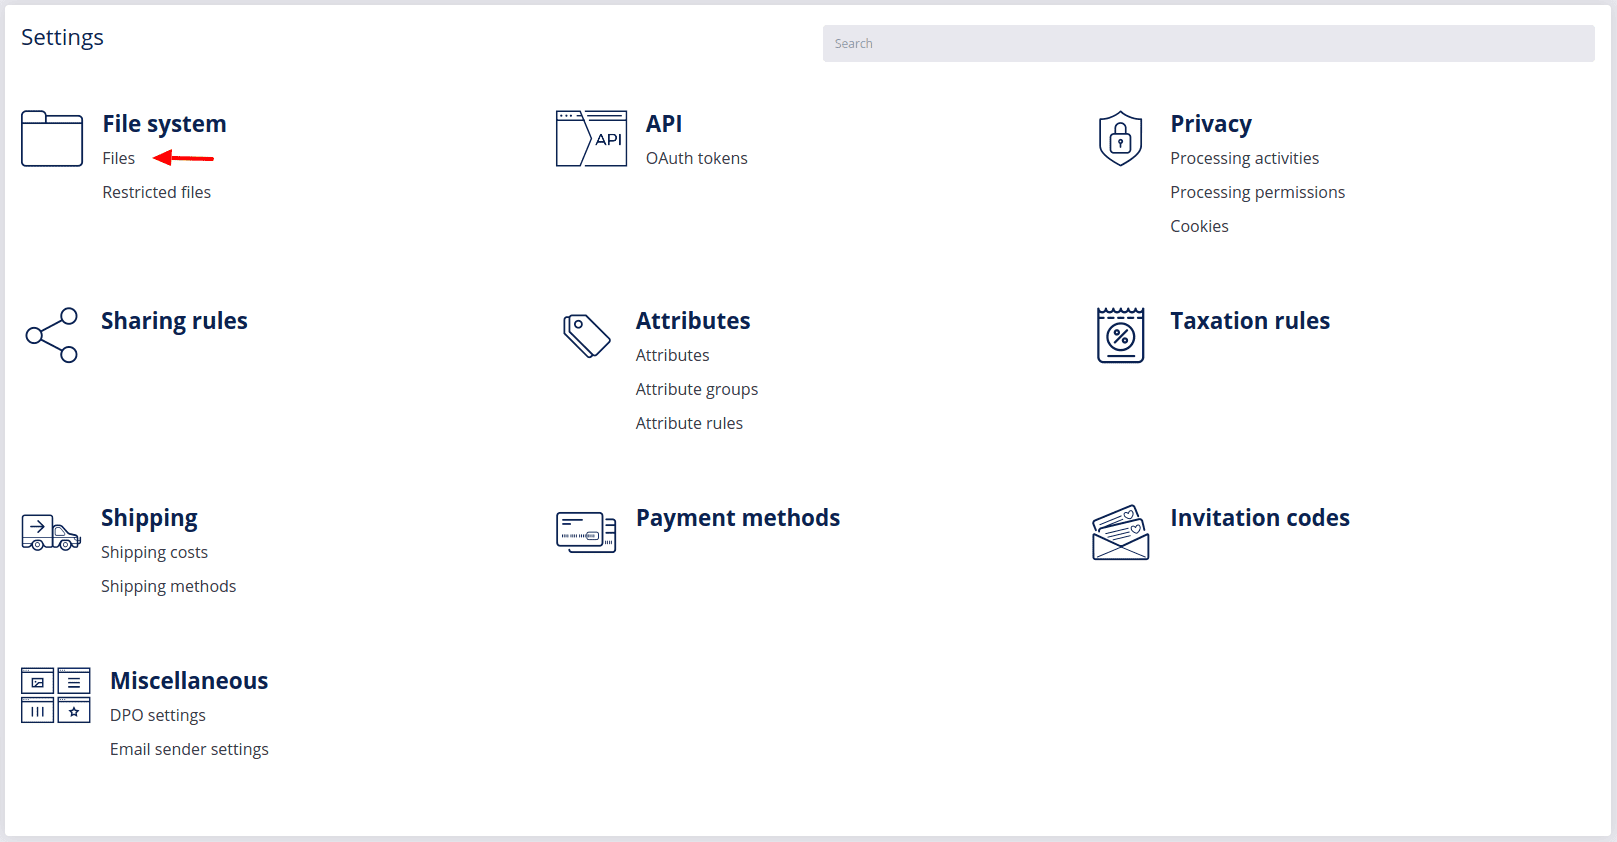
- To upload images to Files in your DG1 Admin panel, navigate to Settings -> File system and click Files.
- The File selector will open.
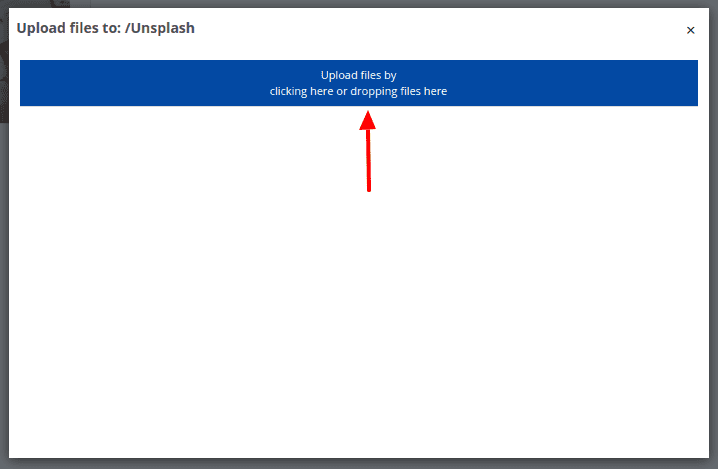
- Click Upload
 .
. - Click the blue Upload files by… button, select images or video and click Open OR simply drag your files into this pop-up.
- Select files and click Open.
- Click X.
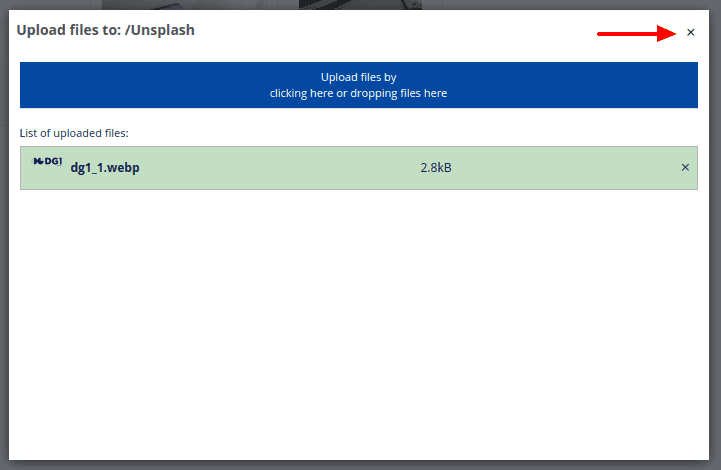
- The selected files have been uploaded into your Files section.
# Manage Files
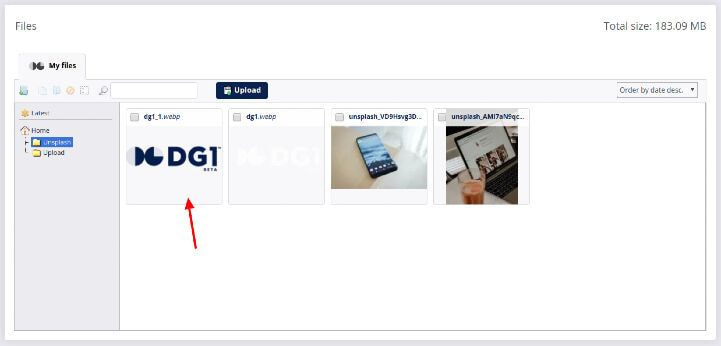
To manage the content of your Files section in your DG1 platform, log into your DG1 Admin panel, navigate to Settings and click Files under File system.
Unsplash folder - contains all the images you downloaded from Unsplash.
To add a new folder click ![]() , name the folder and press enter.
, name the folder and press enter.
When selecting images, you can do the following:
- Copy images to another location
- Move images to another location
- Delete images
- Rename images
To change the order of your files, use the dropdown menu ![]() .
.
# Preview images
To preview uploaded images in the Files, click on the image you wish to see. You have several options while previewing your files:
- Download file
- Share file
- Rename file
- Copy file
- Move file
- Delete file
- Type the label and click Save. This label will be saved as Alt text for this image.

Note
When you are adding or editing a product, adding images with the content editor to your CMS section or creating marketing campaigns, the images you've uploaded on the fly are also saved in the Files.
# Upload images to your online SHOP, BOOKING, CMS, and MARKETING
- SHOP - use images from Files
- Go to Shop -> Catalog -> Products, click Edit
 or Add product
  and select the Images & videos tab
 - Click Select files
- Choose an already uploaded image, click Select and Select & Close.
- Go to Shop -> Catalog -> Products, click Edit
- SHOP - upload new images
- Go to Shop -> Catalog -> Products, click Edit or Add product and select the Images & videos tab
- Click Select files
- Click Upload
- Click the blue Upload files by… button or drag and drop the images you want to upload from your computer to the pop-up box.
- Select images from your computer or Unsplash and click Open.
- Click Select & Close.
- Go to Shop -> Catalog -> Products, click Edit
- BOOKING - use images from Files
- Go to Booking -> Booking products -> Products, click Edit or Add product and select the Images & videos tab
- Click Select files
- Choose an already uploaded image, click Select and Select & Close.
- Go to Booking -> Booking products -> Products, click Edit
- BOOKING - upload new images
- Go to Booking -> Booking products -> Products, click Edit or Add product and select the Images & videos tab
- Click Select files
- Click Upload
- Click the blue Upload files by… button or drag and drop the images you want to upload from your computer to the pop-up box.
- Select images from your files or Unsplash and click Open.
- Click Select & Close.
- Go to Booking -> Booking products -> Products, click Edit
- MARKETING
- Go to a newsletter draft and click the Add section button in the HTML content menu.
- Select any section with an image.
- Double click the image or select the image and click
.
- Click Browse server.
- Select images from your Files or Unsplash and click Open.
- Click Select & Close.
- Change the pixels to adjust the image size or follow the next steps:
- Go to Width and change it to 100%
 .
. - Delete pixel Height
 .
. - Click on the lock so it turns to locked
 .
. - Click OK
 .
.
- Go to Width and change it to 100%
- WEB CMS
- Select any section with images in the content editor.

- Click Select image
- Select images from your files or Unsplash and click Open.
- Click Select & Close.
- Adjust the positioning of the image with the image cropper.

- Click Save image.
- Select any section with images in the content editor.
# Image formats
DG1 supports the following image formats:
- JPG
- PNG
- WebP
- SVG for logos
# Video formats
DG1 supports mp4 video format with H.264 codec.
In the content editor select sections with videos and upload and publish your videos there.
# Upload limitations
We recommend you upload images or videos of a maximum size of 32 MB. Images up to 32 MB will appear correctly anywhere in the system. However, the optimal image size is anything up to 1 MB or a maximum width of 2000 pixels. Try not to exceed the width of 4000 pixels.
Here is why:
- Smaller images take less time to upload.
- Smaller images take less loading time for your site visitors.
- Smaller images don’t take up unnecessary space.
- Smaller images are easy for search engines to index.
Note
When uploading images for product categories, all product categories must contain images of the same dimensions. We recommend the image size of 400 x 300 px.
When uploading images for Parallax and Background image with text box sections, the image names must be written as a string, i.e. without spaces.
The following characters must not be used in image names:
- space
- '
- (
- )
- ;
- "
# Compressing images
DG1 automatically compresses uploaded images to optimize page load times. Compressing an image simply means the size of the file is reduced to allow for faster page loading.
Note
Please make sure your images are in RGB color mode and not in CMYK.
# Unsplash images
Unsplash is an external free image provider that offers a large collection of free high-resolution photos and has become one of the best sources for stock images. All photos are released for free under the Unsplash license.
Unsplash is available in your DG1 file selector.
- When the file selector opens, click the Unsplash - free images tab.

- Browse images using the search bar.
- Click an image to see a preview of the image in your theme.
- After you find an image that you want to use, click Select, and confirm with Select&Close.