# Create newsletter template
When creating a newsletter one can choose between multiple different sections. The logo which is in the header of the Newsletter and the footer of the newsletter are added automatically.
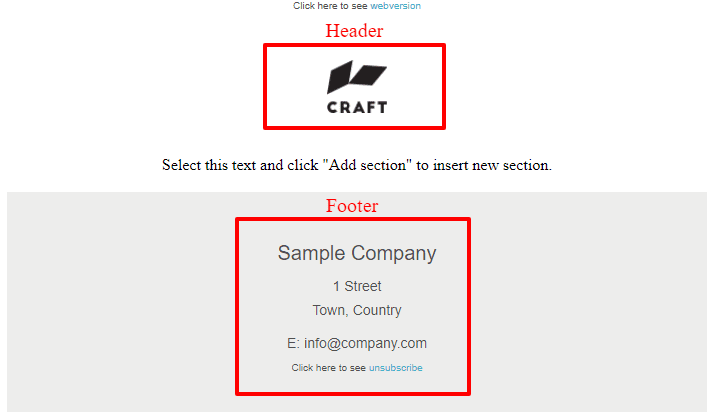
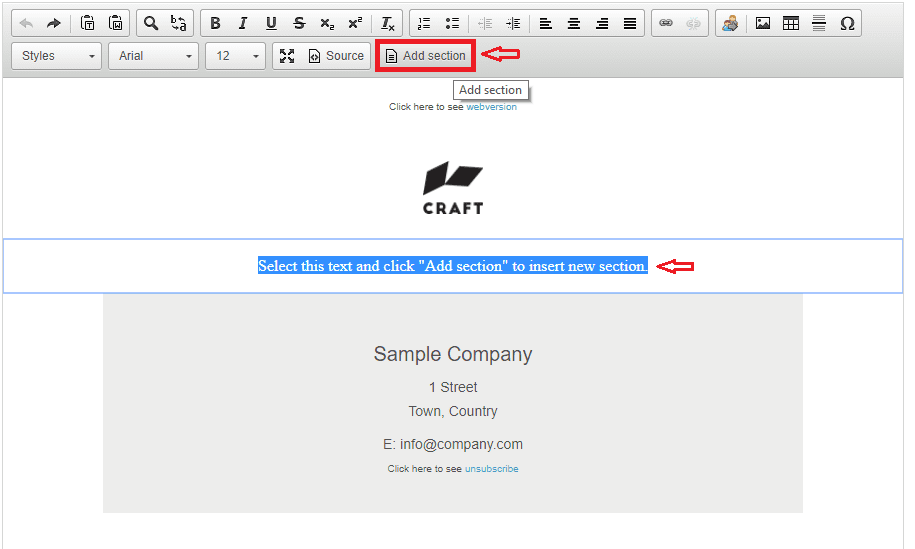
It is up to you how many different sections you will add to your newsletter. As you can see there are suggestions where exactly to click when adding a new section. To change the content, select the whole “Select this text and click "Add section" to insert new section.” text and click Add section button. Here you will see all the sections we have been through in the Template preview.
Suggestion: You plan your Newsletter and add only as many sections as you will be able to fill with the content.
You can choose between the following sections:
| Section | Preview |
|---|---|
| Logo |  |
| Full width image |  |
| Image left and text right on white background | 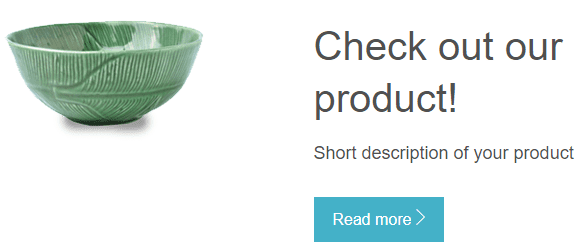 |
| Image left and text right on grey background | 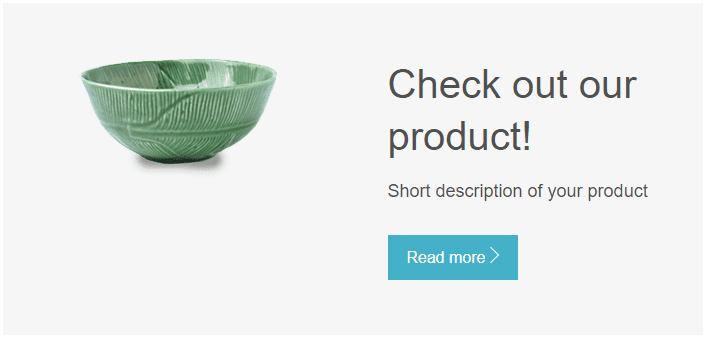 |
| Text section with title and text |  |
| Quote section |  |
| News section - Text left and image right | 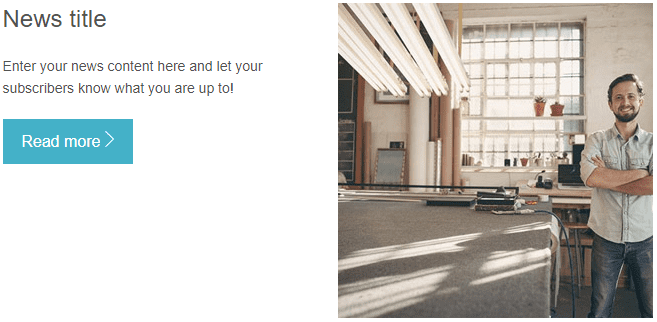 |
| News section - Image left and text right | 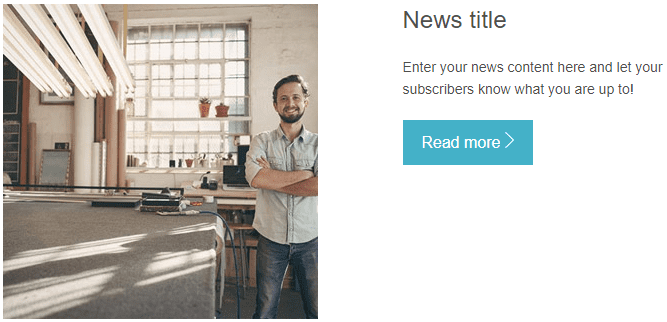 |
| Portfolio - Gallery (you can see exact recommended sizes for those images and we suggest you follow them) | 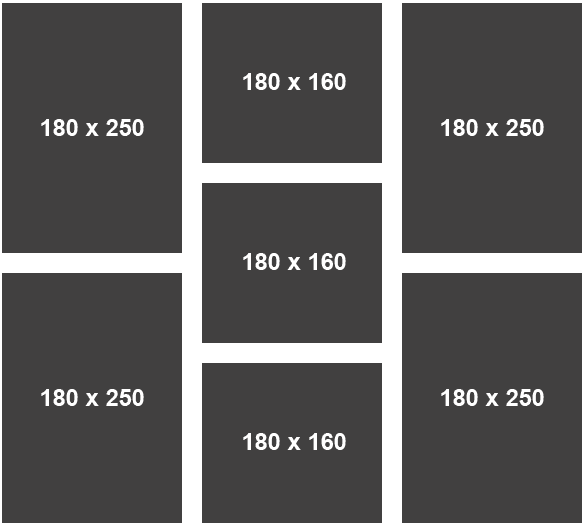 |
| Products - 2 columns | 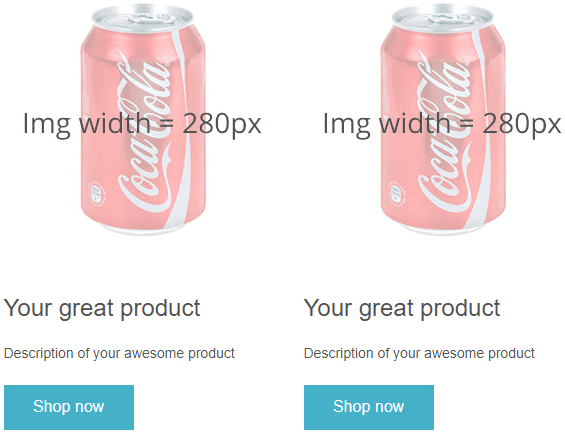 |
| Products - 3 columns | 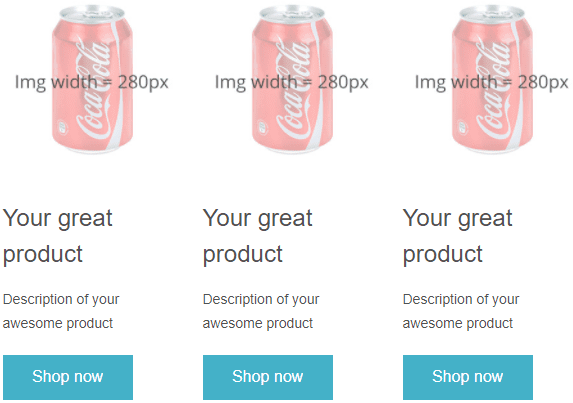 |
| 3 columns - Top images and text |  |
# Examples of how to edit certain sections
- Step by step instructions - How to change Images (E.g.: logo, full-width images, and product images, Gallery):
- Example: Changing the Logo.
- Click on the logo and in editor toolbar click Images
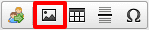 .
. - Image properties will open.
- Click Browse server.
- File uploader will open.
- To add photos from your files, click Upload and choose your photos.
- Click Select and close.
- Click OK.
- Click on the logo and in editor toolbar click Images
- Example: Changing the Logo.
Note
The preview shows how the photo will be placed. In some cases, the email will not show photos to recipients, therefore, it is recommended to add Alternative text which improves downloading of the images in delivered emails - Example: Chocolate lovers logo.
- How to change Text (E.g.: Text next to images, button text, quote, footer):
- Example: Changing the Quotetext.
- Click on the frame.
- Delete the text.
- Type your own text or copy it.
- Change the text to your liking (optional).
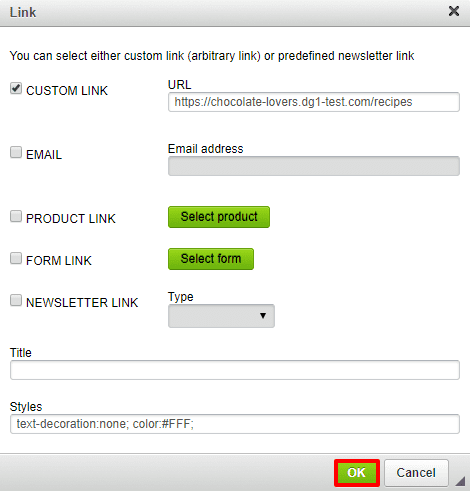
- To add a link to your text, either select the specific text or click anywhere in the text where you would like to see the link, and click insert /edit link . A new window will appear. Check the Custom link and add the link into the window. Confirm it with OK.
- Click Select and close.
- Click OK.
- Example: Changing the Quotetext.
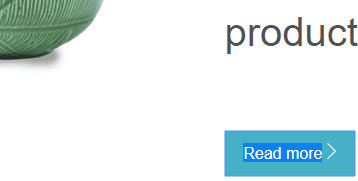
Example: To change the button text select the whole text and start writing over it.
If you like the button text, leave it as it is. Double click on it, check the Custom link box and add a link by copy/pasting it into the window. Confirm it with OK.
Recommendation
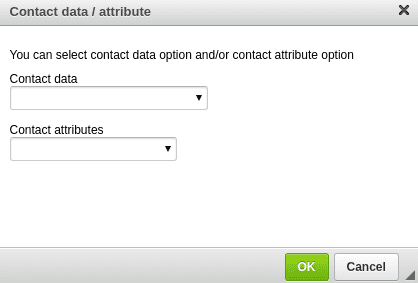
A very useful tool to make your clients feel special is adding attributes to your text. Speak to your contacts in a personalized way by calling them by their first name and adding the information on what you know they like or are interested in. Just a simple, Dear Sarah, will do such a big difference and the chances of people actually opening and reading your newsletter will grow immensely. You do that by clicking Insert contact data. Choose an attribute and then form a text around that attribute. You can choose between multiple contacts data and attributes. Make sure you have those attributes already imported.
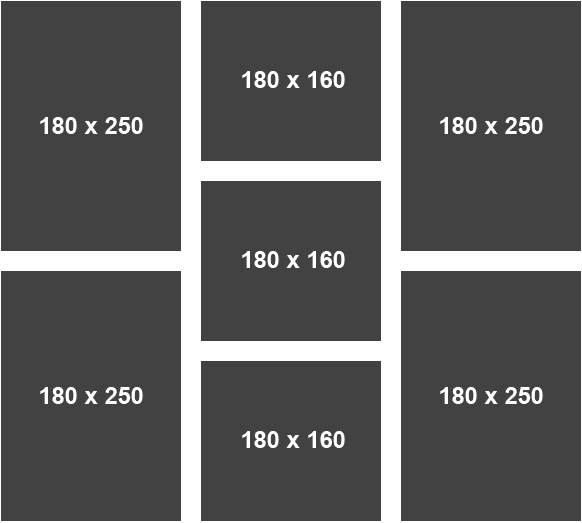
Adding photos to Photo gallery and Products section. Please, take into account that the recommended sizes (Example: 180 x 160) are there for a reason. Make sure you have them all prepared before adding photos to the newsletter.
The last thing you have to do is change the contact details in your footer. Click on the text in the address box and edit it.

Recommendation
Do not make any changes to the unsubscribe link.
Text alternative for email clients which struggle to open HTML content will be generated automatically.
Under Actions you have several options:
- Refresh from HTML content will copy all the data from your already modified and completed Newsletter.
- Add new Contact data/attributes that enable adding personalized info just like in HTML.
- Add a new link that enables adding a link to your text.
- Click Next
 .
.