# Attributes in marketing section
Communicating the right information to your contacts is crucial in today’s online business. What is worth the most when owning an online business? Client’s information. When selling products or services you should be able to know everything that connects your products to your clients and vice versa. Collecting the right information about your clients and adding them to your database, knowing what they like and desire is crucial for online success in today’s fast developing digital world.
In the DG1 platform you can collect information in several different ways:
- either by adding them manually to your contacts,
- by importing them using a .csv file,
- through a form,
- directly through online shop purchases.
DG1 collects also other types of data using different technologies, so you will understand your contacts better. With all these options the first step you must take is to set up Attributes for your contacts in DG1 platform.
Quick test!
- What is someone’s shoe size? It is an attribute.
- What is someone’s interest? It is an attribute.
- What’s Kate’s favourite dish in your restaurant? It is an attribute.
Collecting attributes and adding them to your DG1 contacts will make your marketing campaigns and targeting the right contacts with the right content retail heaven.
# On this page
# Add new attribute
All the general attributes are already created in your DG1 platform: First name, Last name, Gender, Date of birth, contact info, etc. are all added to the Info card in your Contacts segment. So, you do not have to create those attributes. Attributes are simply added quality or feature regarded as a characteristic of someone or something.
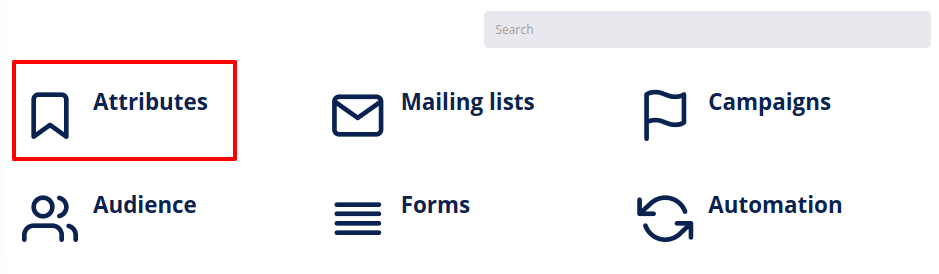
- Navigate to the Marketing section in your DG1 platform.
- Click Attributes.
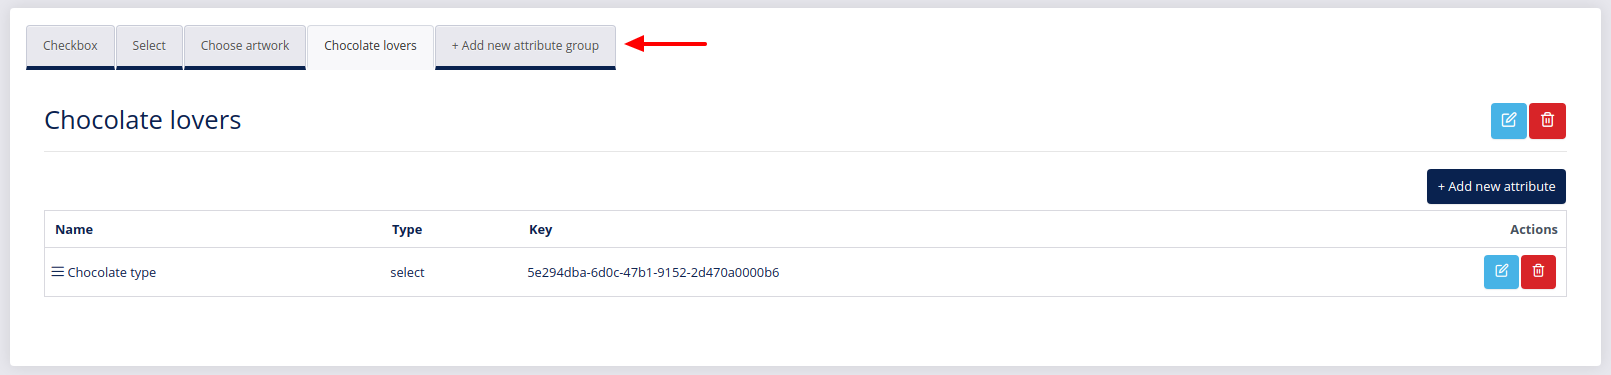
- Click Add new attribute group.
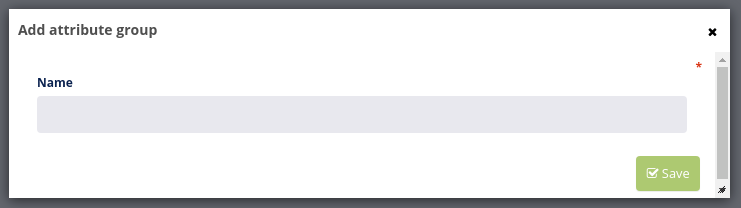
- Enter the name of the attribute group and click Save
 .
.
- Then click Add new attribute
 .
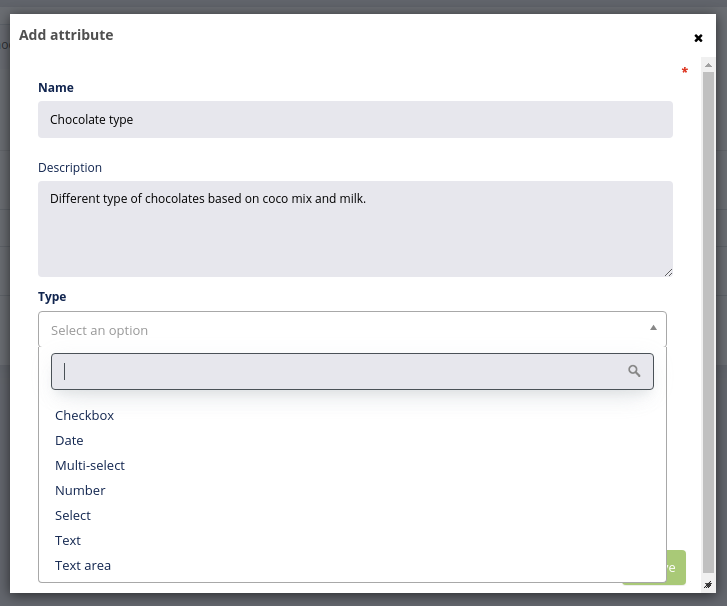
. - Name your new attribute and add a description of your liking.
- Select one among multiple different attribute types.
| Type | Description |
|---|---|
| Checkbox | A checkbox is a form into which a tick is entered as a response. Example: Likes to buy shoes. (Check the box for “yes”) |
| Date | This field type is used for values that contain a date. |
| Multi-select | You can select multiple options from a set of predefined options. Example: Your sports - football, basketball, volleyball, skiing, tennis, cricket, swimming. (You can choose between multiple options) |
| Number | This field type accepts either integer or decimal numbers. |
| Select | You can select only one option from a set of predefined options. Example: Favorite color |
| Text | This field type is used for entering plain text, without any formatting. Example: Favorite dish.. |
| Textarea | This field type is used for entering plain text without any formatting and is not limited. |
- Choose Validation and Default value (in case of type Date, Number, Text, Textarea).
- Validation: Used on Date, Number, Text and Textarea type of attributes.
| Validation types | Description |
|---|---|
| Date | This field accepts a date. |
| Datetime | This field accepts date and time. |
| Integer | This field accepts integer numbers. |
| Decimal | A This field accepts decimal numbers. |
| Text with spaces | This field accepts text and spaces. |
| Alpha-numeric | This field accepts letters or numbers. |
| URL | A Uniform Resource Locator is the address of a World Wide Web page. Usually called a link. |
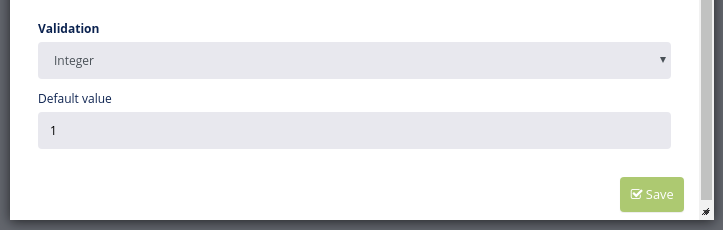
- Default value is the one that will appear in the text box or as a selection. Users will be able to keep it or delete it
Click Add option (in case of type: select, multi-select).
- Add the Empty value label if you wish this text to appear instead of the preselected option. (optional)
- Add a Title and Key to your options. Example: red, blue, green.
- Check the box to make one of the options the default one (optional). The default option will override the empty value label so we suggest you do not use both.
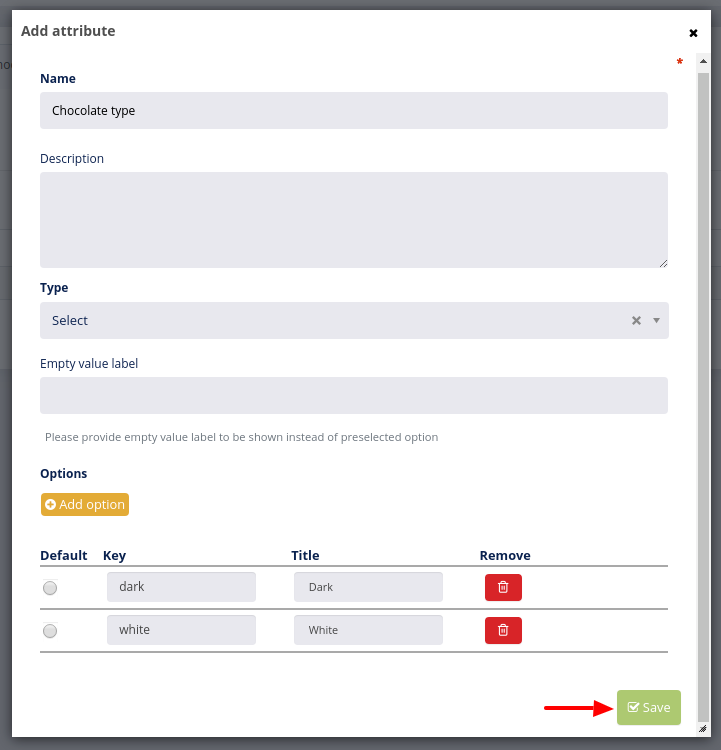
- Click Save .