# Push notifications
Push notifications also called server push notifications are the delivery of information from a software application to a computing device without a specific request from the client. You probably know Push notifications and Web push. DG1 platform supports both. If the client will have an app then they will receive push notifications otherwise they will receive web push in their browsers. A common scenario of push notification is the client application pops up the message in front of applications containing information along with the alert sounds.
# On this page
# Create Push notification
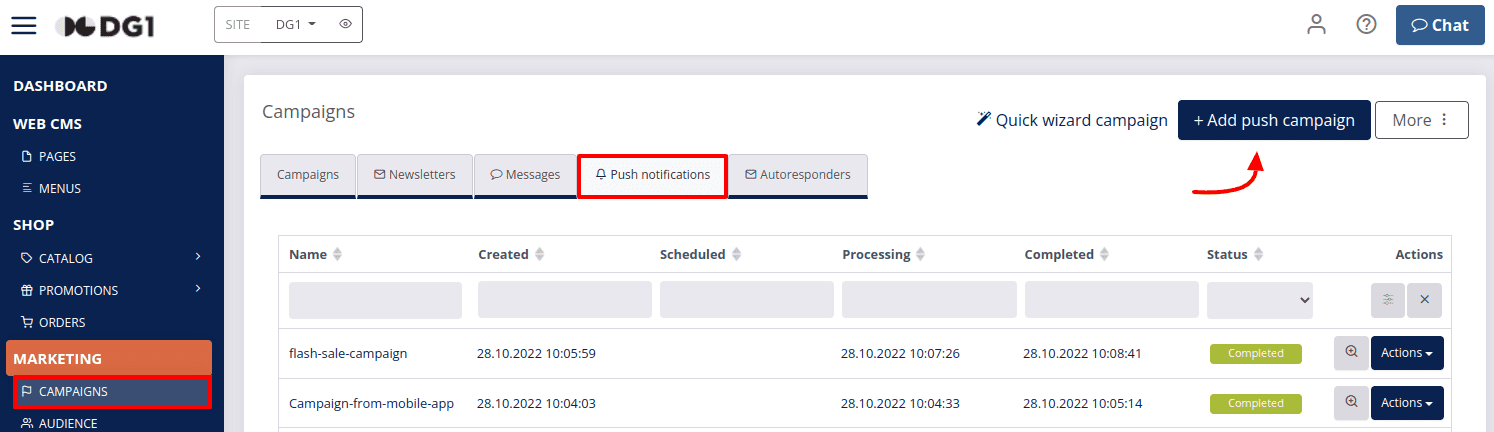
- Go to the Campaigns page under the Marketing section of the sidebar menu and select the Push notifications tab.
- To add Push notification click +Add push campaign
 .
.
Enter details:
- Write a Name. Example: Hello there.
- The Key will be written automatically.
- You can add a Description to your likings. It is only for your internal use.
- Choose a Language. Example: English.
- Schedule processing - If you wish to schedule notifications in advance.
- Write a Heading and Subtitle. Example: Heading - Hello there and Subtitle - Want to read more on us? They are not obligatory.
- Write a Message. Example: Click here to read all about us and win points.
- You have an option to add a Target URL - this means if customer will click on the push notification, they will be redirected to this URL. Example: Go to the front end and copy the desirable URL and paste it to the window in Target URL.
To save Push notification click Submit
 .
.
Push notification has been saved and it has a status Initialized. This means in this status you can still View ![]() it, Edit
it, Edit ![]() it or Delete
it or Delete ![]() it.
it.
# Activate Push notification
- Go to the Campaigns page under the Marketing section of the sidebar menu and select the Push notifications tab.
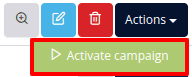
- Click Actions and Activate campaign.
- Check the information and click OK.
The campaign will change status from Initialized to Pending. At this stage you still can edit Push notifications.
Warning
If you have scheduled your campaign in advance do not go to further steps of processing it, because the scheduled campaign will process itself. In the end status will be changed to Completed.
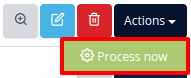
- If you want to process this Push notification immediately go back to Actions and click Process Now.
- Confirm it with OK.
You have to refresh your website in admin to change the status to Processing and when you will refresh it again, it will change into Completed.
Note
Very important information about push notifications is their Time to Live (TTL) is 3 days. After that, no user will see these notifications. This also gives you an option, an opportunity, to keep adding new push notifications with a lot of marketing content. Redirect people to specific URLs if you have any discounts, promotions, sales, etc.
Push notifications must be Enabled in your Site settings.
# Enable/Disable Push notifications in Site settings
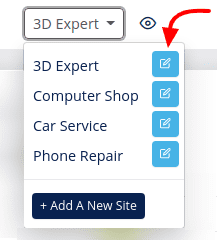
- Navigate to the SITE dropdown menu in the header of your DG1 Admin page and click Edit
 next to the chosen site.
- Under General settings check Push notifications checkbox. Push notifications will be enabled for all registered devices.

- To save changes click Submit .
Note
You have to Enable Push notifications for every site in case of multiple sites in your DG1 platform.