# Forms
The best way to gather information about your customers is through FORMS. When filling a form your website visitors will automatically subscribe to your notifications and you will have all the control to direct their data into a desirable segment according to their interests and according to the content of your form.
When you click FORMS two already prepared forms appear.
Two very simple forms are Basic Subscription and Basic contact.
Note
The pre-made "Basic Subscription" and "Basic Contact" forms do not notify the admin upon submission. To add additional recipients, you’ll need to duplicate or create a new form.
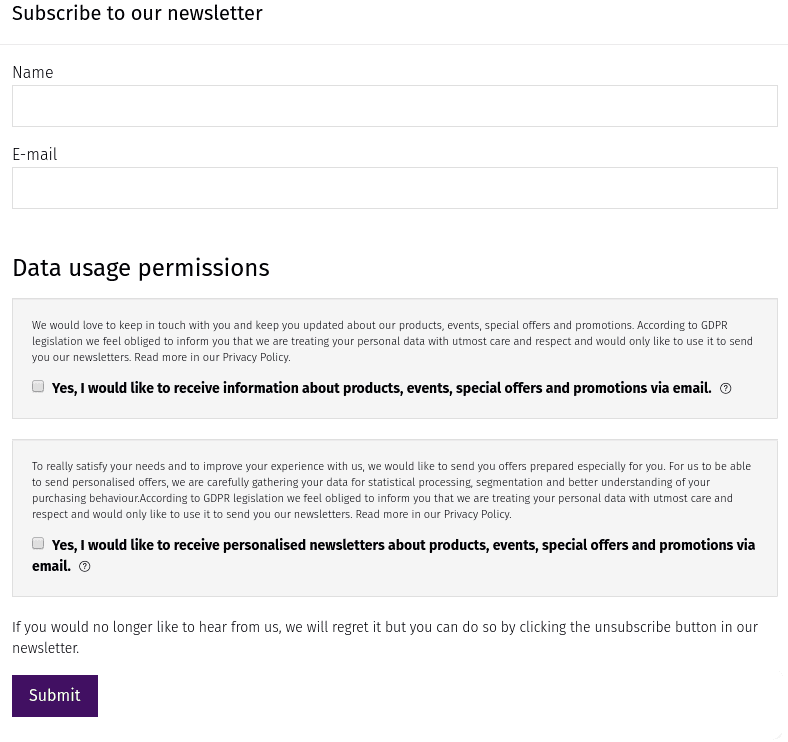
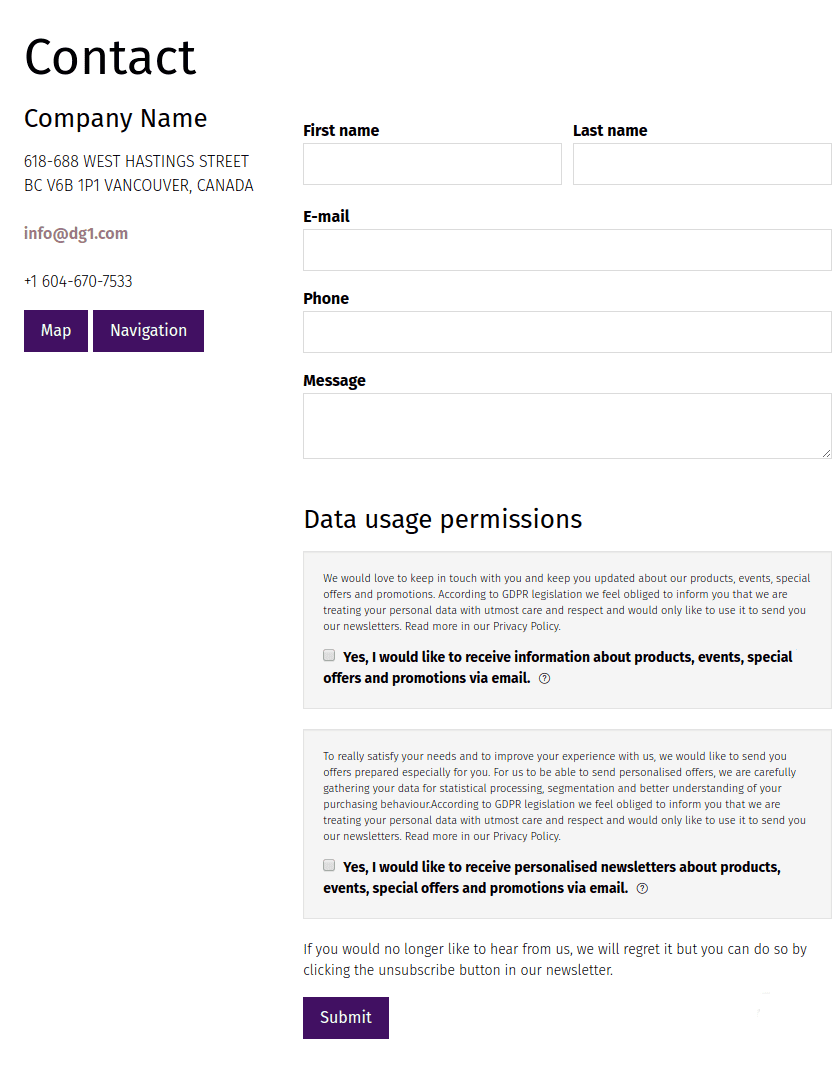
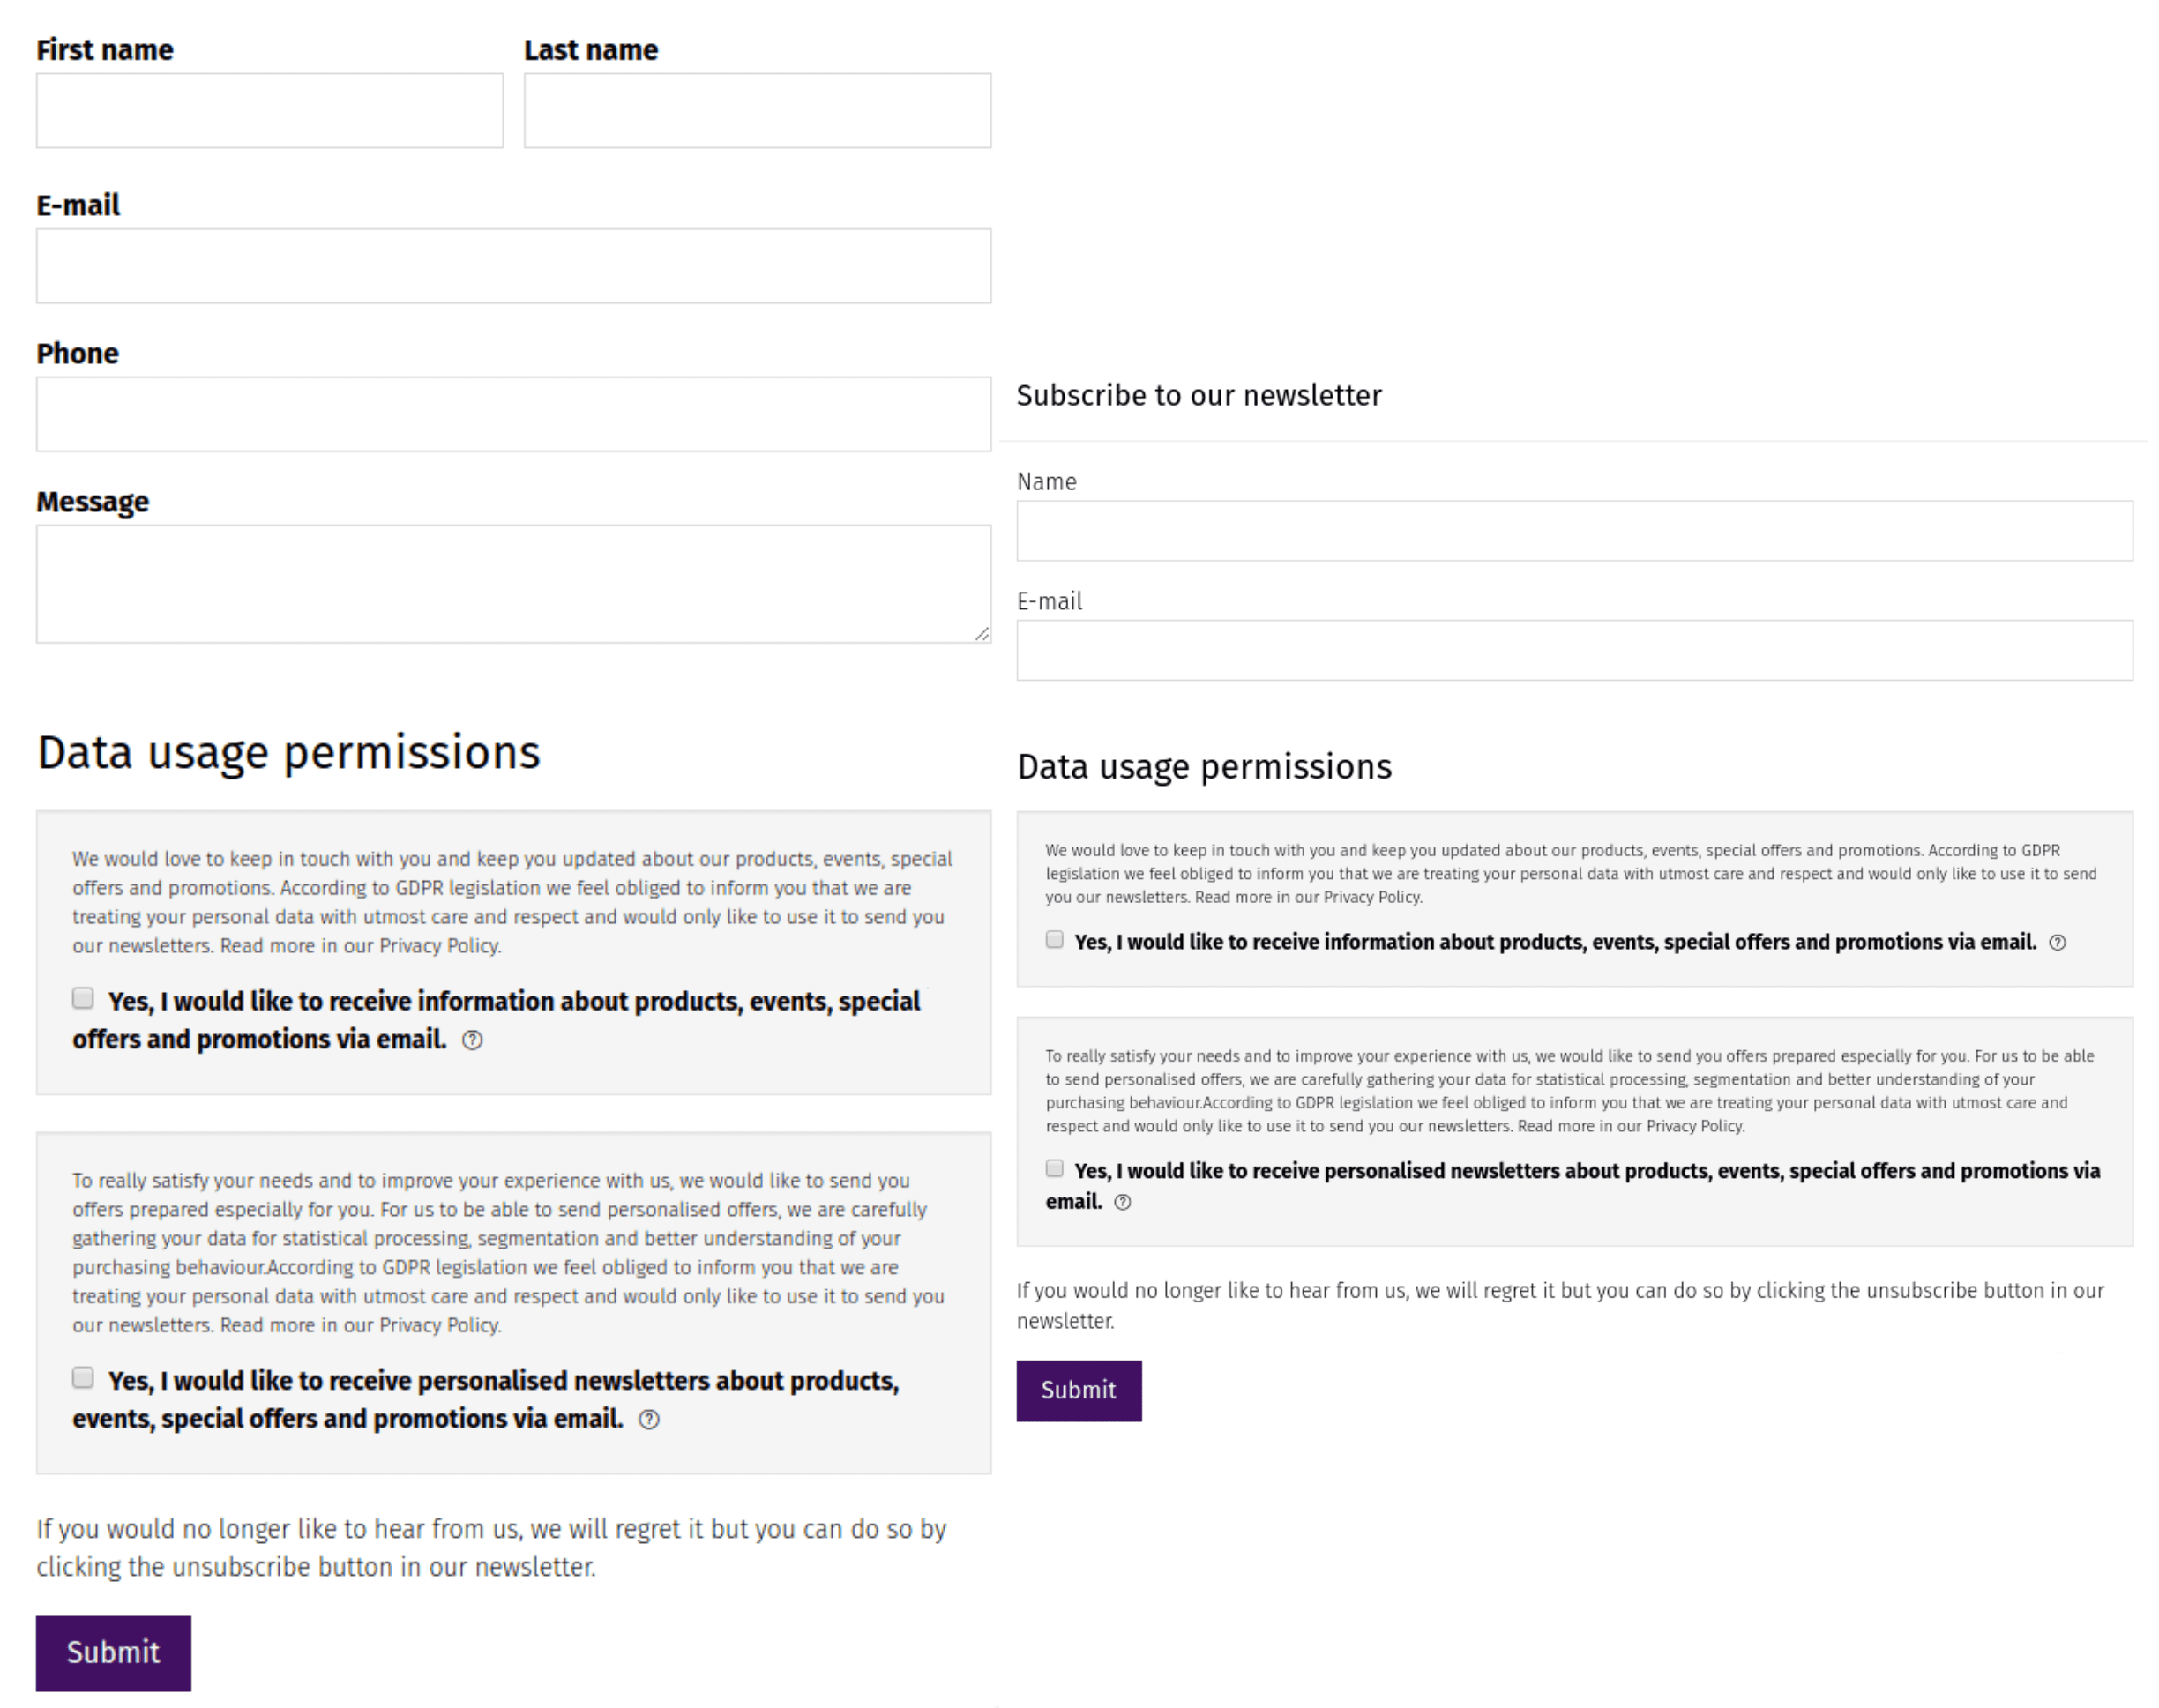
In the front end view they look like this:
Basic Subscription
Basic contact
# In this section
# Create a new form
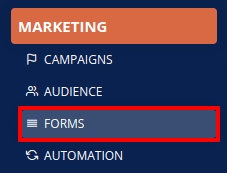
- Go to Marketing section in your DG1 platform.
- Click Forms.
- Click Add new
 .
.

- Enter info details about new form:
- Name your new form
- URL alias is an alternate URL that will appear to the site visitors and is written automatically from the form title. You can change it to your liking.
- Processing activities are very important and obligatory for your form. Due to data protection legislation applied in several countries around the world, you are obliged to inform contacts how will you process their data and get their consent. DG1 by default offers two types of consents: Marketing newsletter OPT-IN and/or Personalization & profiling consent. The first one informs contacts that you will send them your newsletters, the second one means you will process their data for a more personalized marketing approach and segmentation. You have to choose one of them or you can choose both. A checkbox with a consent text and description will appear under your form.
- Add a description If you would like to, but it is not obligatory
- Status has to be Enabled
- Choose a language
- Purpose refers to the motive of collecting data with your form. There are two options to choose from: Grow mailing list or Collect inquiries. With Grow mailing list type, the contact is saved in the database only one time, even if the contact fills in the form more than one time. Collect inquiries, however, saves the submission every time the form is submitted. (Example of a growing mailing list is a newsletter form in the footer of your homepage. Example of Collecting Inquiries is the Contact form.)
Note
We usually use the mailing list type for newsletter subscriptions and Inquiry type for forms with a message field. Of course, the Inquiry type also allows you to add notifications field (step two of creating a form) but the field is not obligatory to finish the form. Mailing list type allows you to connect contacts to your mailing lists through forms and in this way enlarge your marketing database. Only with contact permissions to add them to your marketing channels will you be able to constantly notify them of all your novelties, promotions, discounts, sales, etc.
Suggestion: You can choose or create a Segment for contacts that will fill in this form. When you will gather specific information from your contacts, it is smart to segment them according to the collected data. Segments will come really handy when you will wish to contact these contacts with your targeted campaigns.
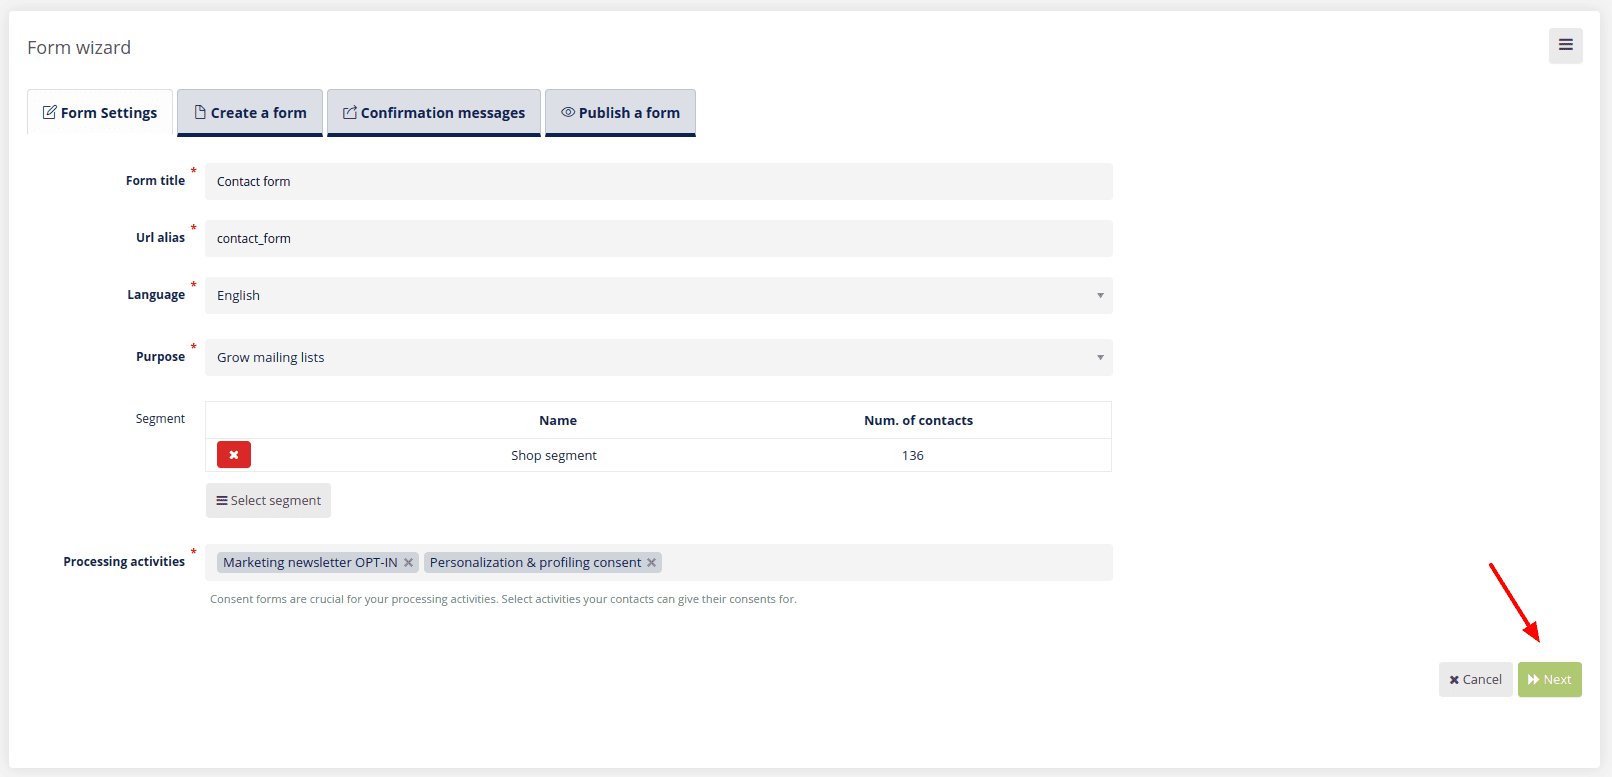
- Click Next
 . (By clicking next your form will be automatically saved.)
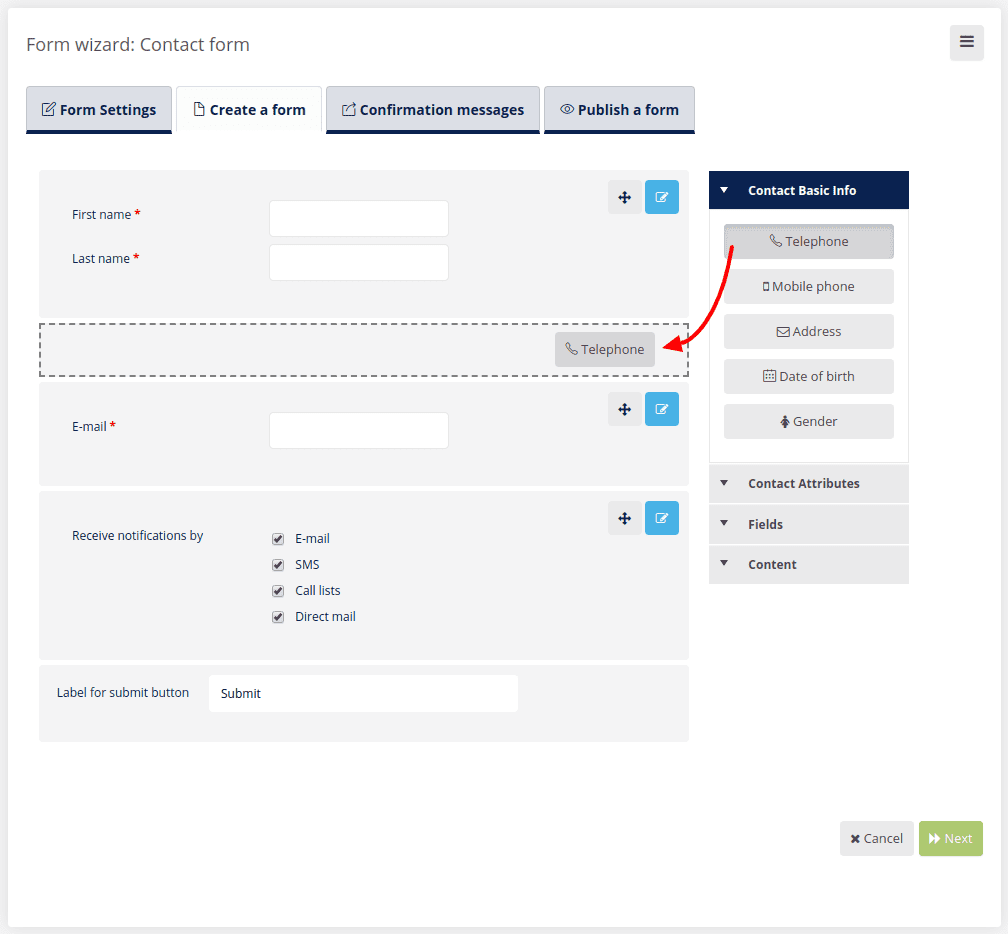
 - Create a form of content by Drag & Drop.
The four obligatory information fields are:
- Name
- Notifications (Notifications field appears automatically because you chose Mailing list as Type in the first step of Form wizard.)
- Label for Submit button is set by default to Submit. But you can change it to anything. Example: I’m in. Or JOIN or SUBSCRIBE.
The obligatory fields will be added to your form automatically. You can add other fields by dragging and dropping them to the grey field on your left. Add as many fields as you would like but keep in mind contacts might not like to fill in long forms.
Note
You can always Edit ![]() each field to change the default label or add a customized label. In cases where you will add fields only for form purposes, you will have to edit each field and write a Label. (Example: click fields in the list, drag and drop a required one (example: Select), edit it, add Label and Value.) This field will be used only in this form and the information from it will only be visible under form submissions. For purposes of contact targeting and segmentation we suggest you prepare attributes and use them in your forms.
each field to change the default label or add a customized label. In cases where you will add fields only for form purposes, you will have to edit each field and write a Label. (Example: click fields in the list, drag and drop a required one (example: Select), edit it, add Label and Value.) This field will be used only in this form and the information from it will only be visible under form submissions. For purposes of contact targeting and segmentation we suggest you prepare attributes and use them in your forms.

By default notifications will be selected automatically. You can delete specific channels. Example: SMS and only Email will appear.
You can also edit ![]() notifications although this is a more advanced option. If you would like people to subscribe to only specific mailing lists, you press and hold Ctrl on your keyboard and select only the specific mailing lists. Example: Male clothes.
notifications although this is a more advanced option. If you would like people to subscribe to only specific mailing lists, you press and hold Ctrl on your keyboard and select only the specific mailing lists. Example: Male clothes.
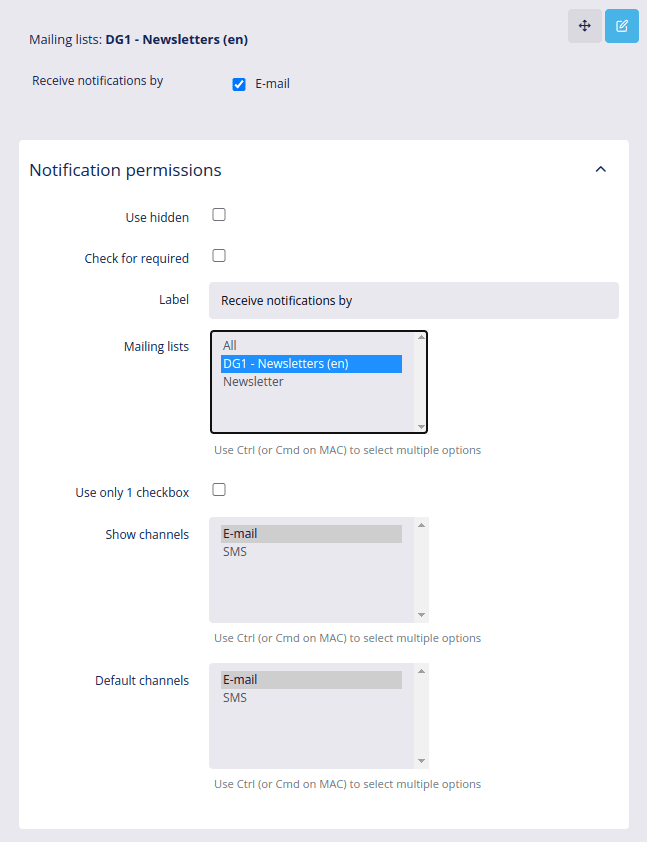
Settings for notifications:
- Use hidden - to hide channel notifications selection
- Check for required - new option appears
- Required channels - Select required channels
- Label - name applied to the notifications
- Mailing lists - what kind of notifications you would like your contacts to subscribe to
- Use only 1 checkbox - contact will have to check only one checkbox and the contact will be subscribed only to the predefined mailing list:
- Selected channels - select channels
- Default value - Checked or Unchecked
- Show channels - channels that will be displayed on the form
- Default channels - if selected as default channel, it will be checked by default
You can add custom contact attributes. Example: t-shirt size, favorite color, etc. If you will be left with big stock of women’s T-shirts, size S, you will be able to target women who wear size S. You will receive this information through the submitted form. The more information you get the more targeted your campaigns can be and this is where Forms come in so handy.
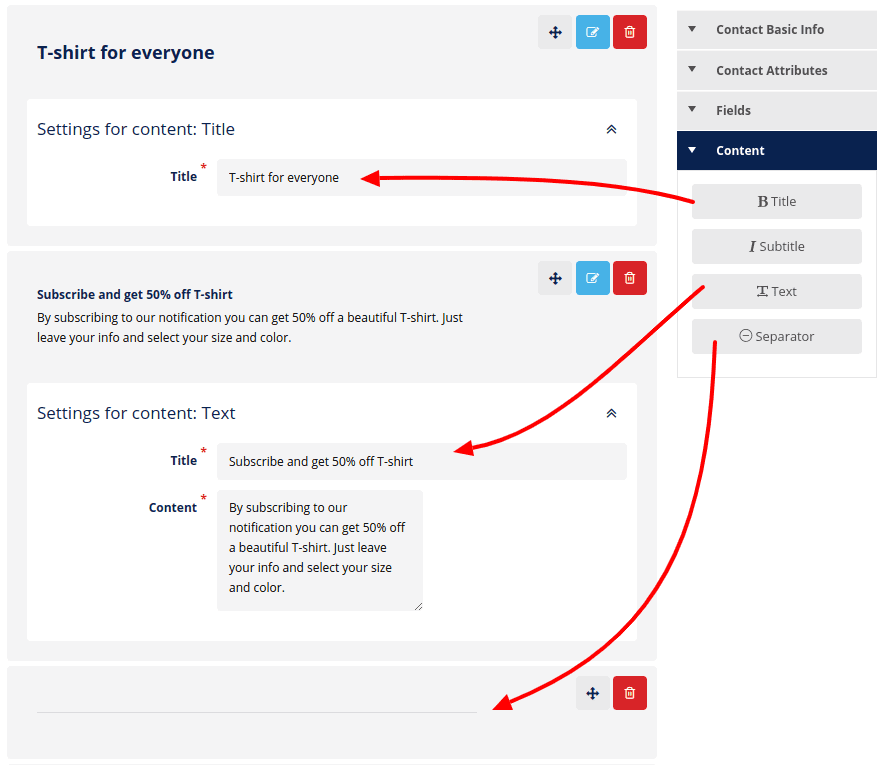
To make a form look nicer and more explanatory, you can add content fields. Example: Let’s add a title and text field under the title.
| Content fields | Usage |
|---|---|
| Title | Give a name to a form |
| Subtitle | Giving additional information about the content |
| Text | A detailed description of the form (what are they signing up for, what to expect, etc.) |
| Separator | A horizontal line that defines a thematic break |
- Click Next .
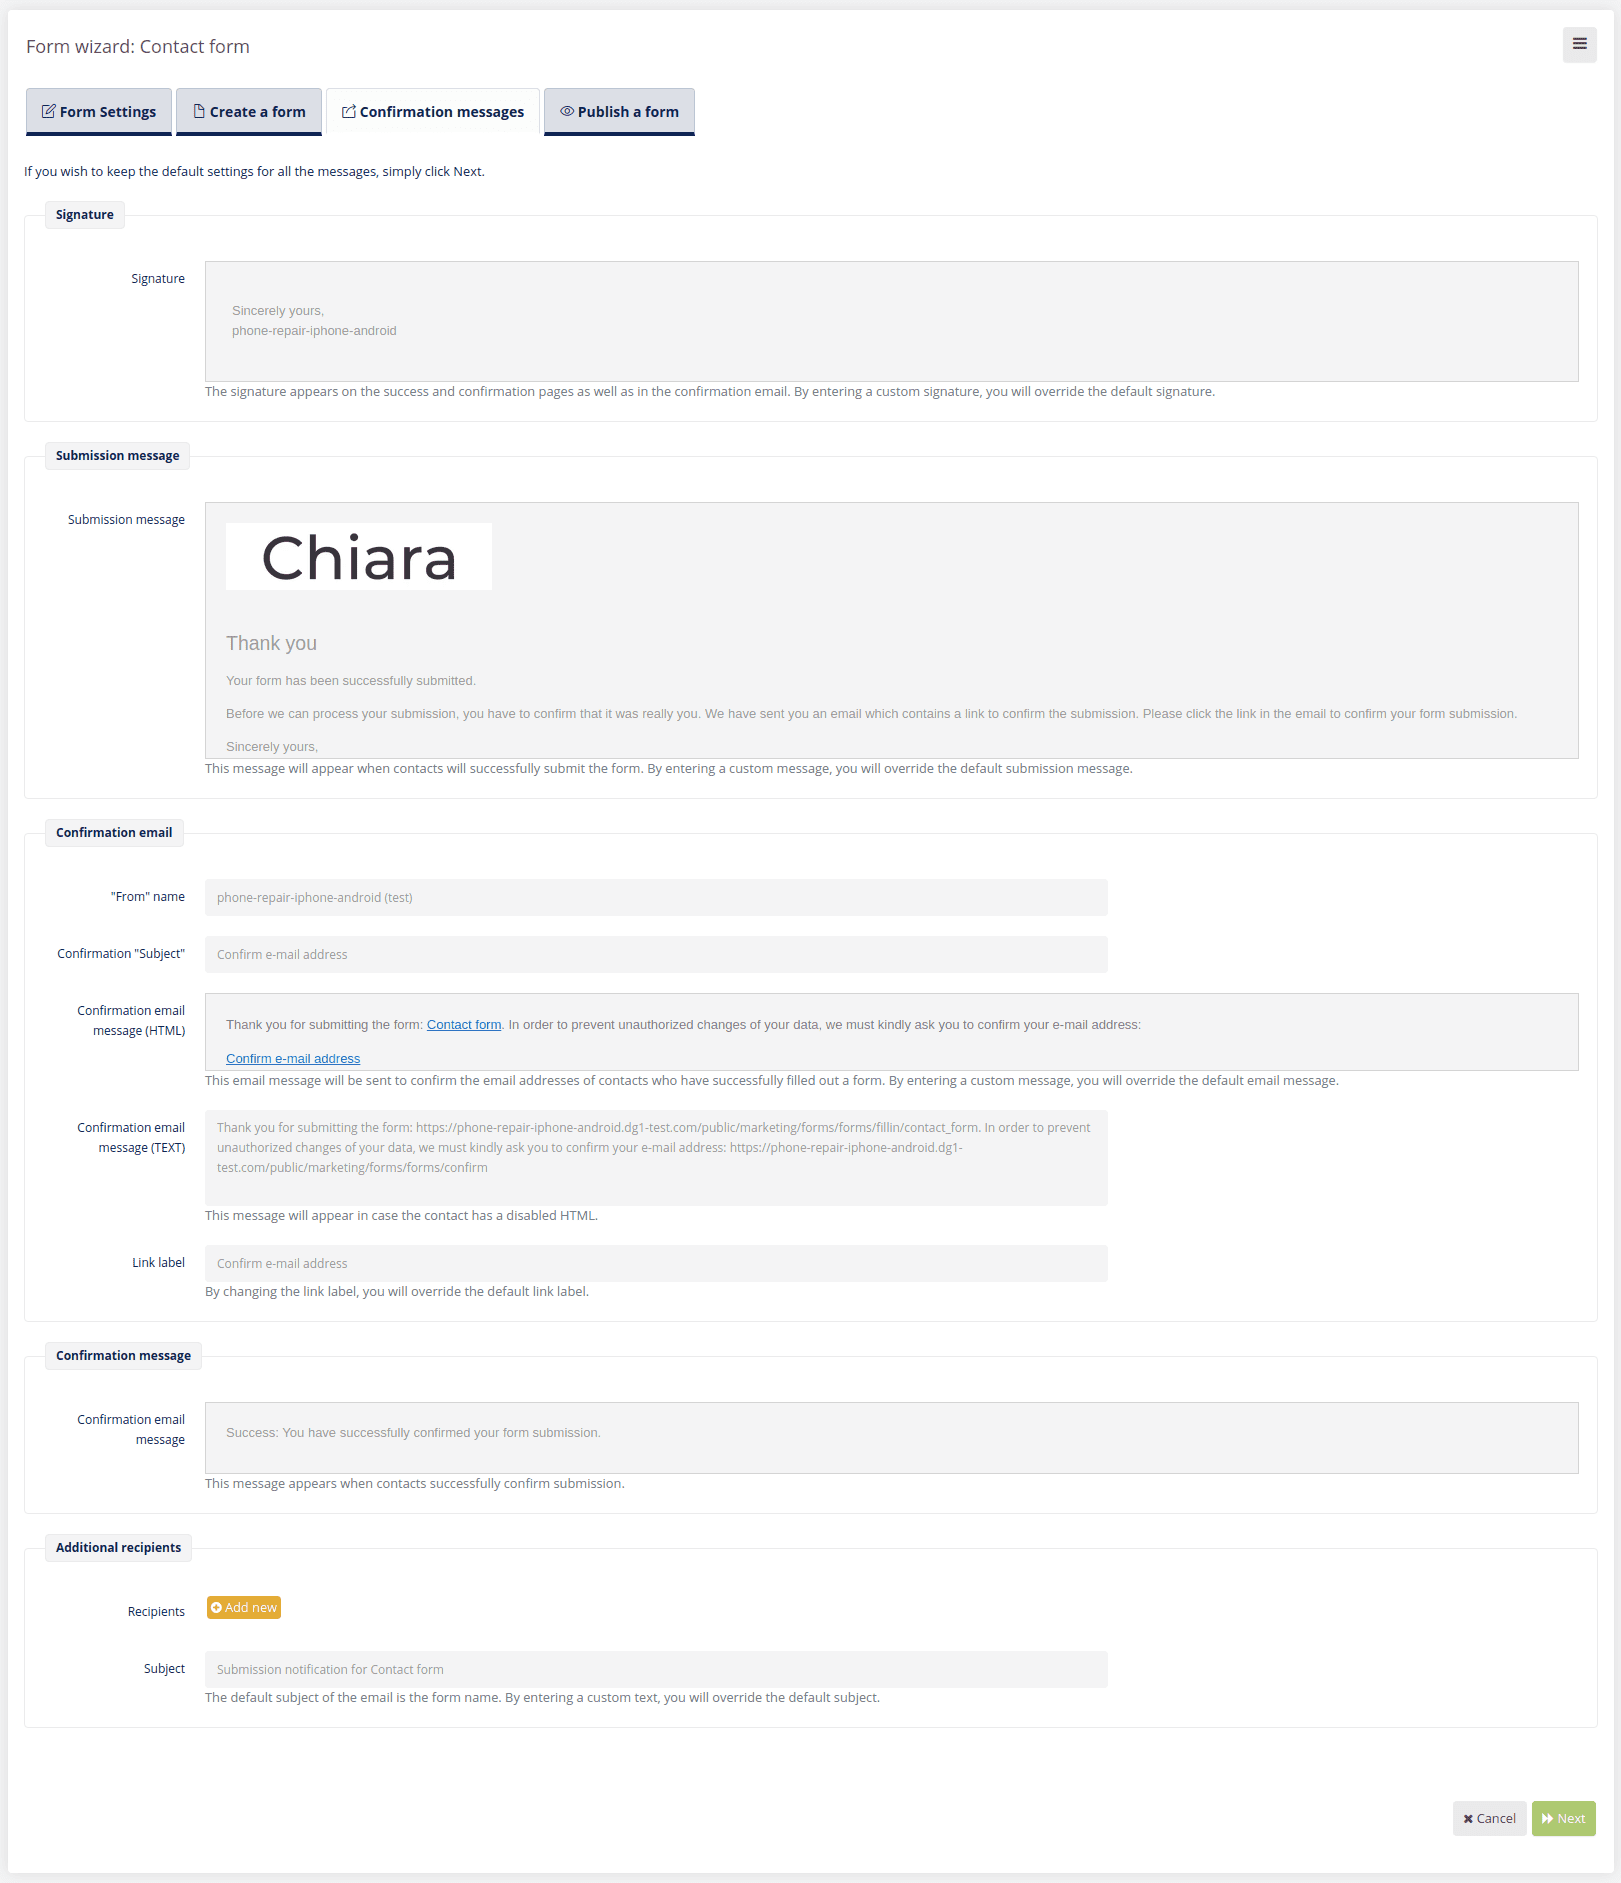
You are now in the stage of editing Confirmation messages. If you don’t wish to change them and leave them to default, simply click Next.
- Signature: The signature you see in the field is the default signature. The signature will appear on the success and confirmation pages as well as in the confirmation email. Adding a custom signature will override the default signature.
- Submission message: The submission message appears right after your contacts successfully submit the form. The message in the field is the default one. To write your own, start writing in the field. The custom message will override the default one.
- Confirmation email: The confirmation email is sent to contacts who have successfully submitted the form. In this email the contacts are requested to confirm their email address. All the fields in the Confirmation email settings are already set with default values and texts. If you wish to change any texts, simply write in the fields. Your custom texts will override the default ones. For anybody who is not comfortable writing their own messages, we advise to leave all the messages as they are.
- Confirmation message: Confirmation message appears after the contacts have clicked the link to confirm their email address in the confirmation email. The message in the field is the default one. Should you wish to change it, simply write in the field. Your custom message will override the default message.
- Additional recipients: To add any additional recipients, simply click Add new. To change the default Subject of the email sent to recipients, simply type it in the field. Your custom message will override the default one.
After adding email addresses click Next ![]() .
.
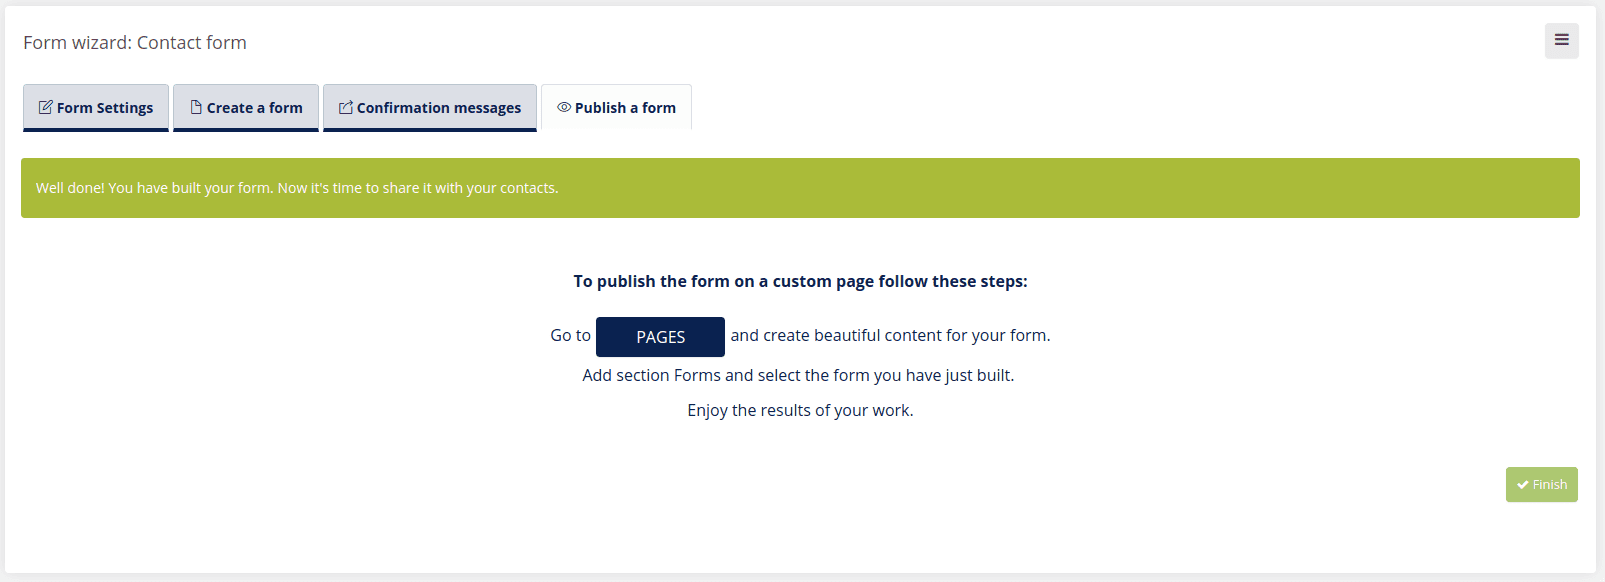
- Publish a form
To publish your form simply click the button Pages. You will be redirected to your content editing system. To publish your form, select an already existing page or create a new one and then click the Add section. To build a nice introduction to your form we suggest you add sections with images or sections with text to inform your site visitors what this form is for.
When adding form, click Add section, and select category Forms. Choose one of the form sections and click on it. Then edit this section and click in the “select form” dropdown. Select your previously created form. By clicking Save & Publish your form will be published.
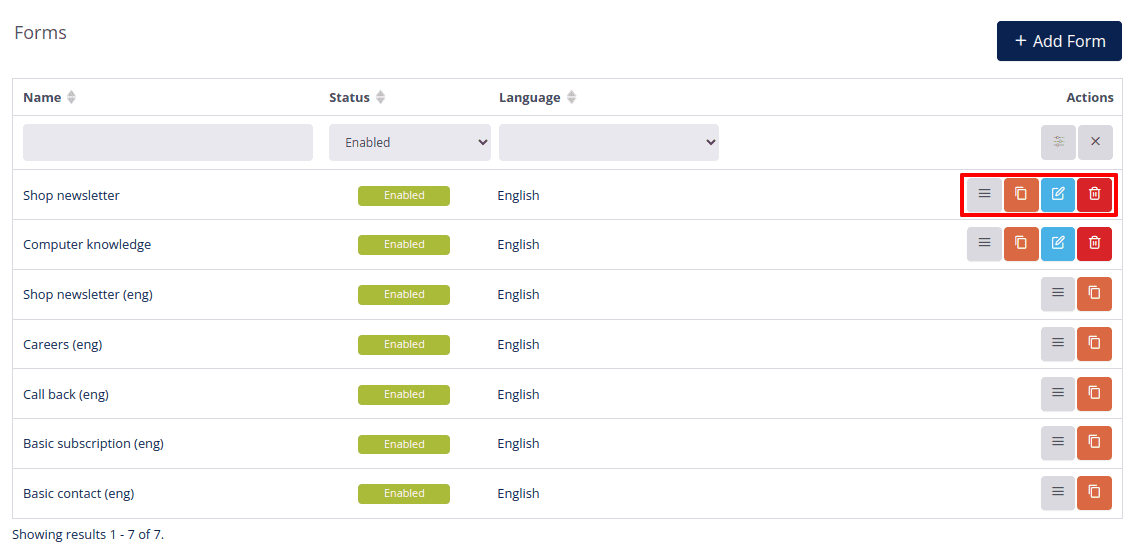
# Form options
You can Edit ![]() form.
form.
You can Copy form ![]() .
.
You can Delete ![]() form and confirm it with OK. You can delete only the ones who have not been submitted by anyone. If Form has been Submitted and you will try to delete it, you will be warned that the Form can not be deleted but it will be automatically Disabled.
form and confirm it with OK. You can delete only the ones who have not been submitted by anyone. If Form has been Submitted and you will try to delete it, you will be warned that the Form can not be deleted but it will be automatically Disabled.

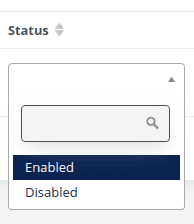
To find your disabled forms change Status from Enabled to Disabled and click filter.
To view submissions for this form click Show submissions ![]() .
.
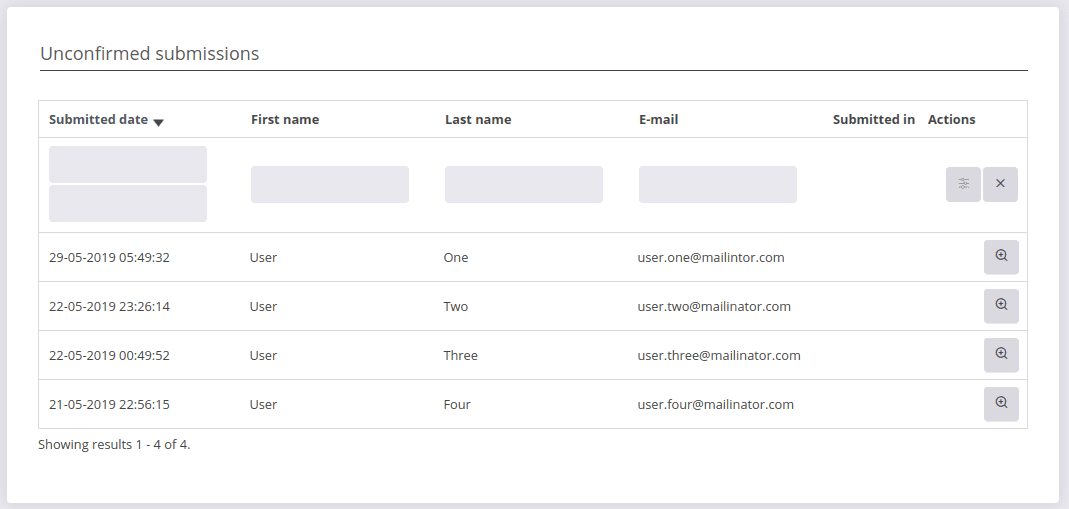
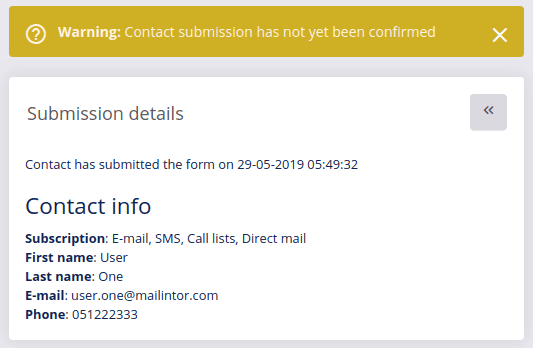
View confirmed and unconfirmed form submissions in two separate lists.
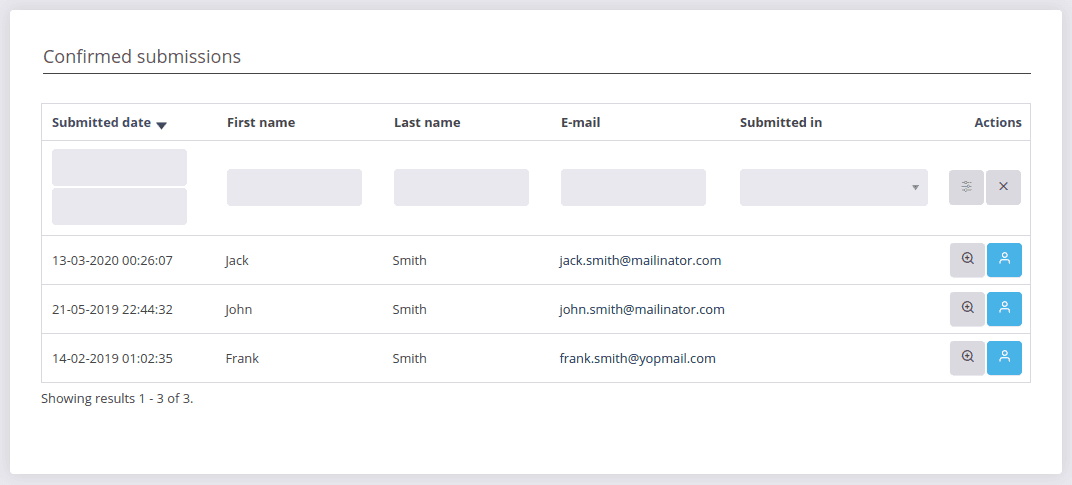
To save the contact details from unconfirmed form submissions, view ![]() the form submission and copy the data to a spreadsheet file (example: Excel). The data export from unconfirmed form submission is not available.
the form submission and copy the data to a spreadsheet file (example: Excel). The data export from unconfirmed form submission is not available.