# Contact 360° view
All gathered information about your contacts gives you an overall view of each contact and with their help, you can put your contacts in specific segments. By putting them in specific segments, you can prepare targeted campaigns right here in DG1.
Example: If you want to target women who wear size S, you create filters through gender and size attributes and add them to a specific segment. This tool will uniquely help you target the appropriate contacts with the right products or services.
To learn more about segments and filters go and see DG1 Marketing Targeting manual.
How to manage and add attributes and attribute groups go see DG1 Attributes in marketing section tutorial.
# On this page
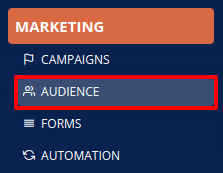
# Audience
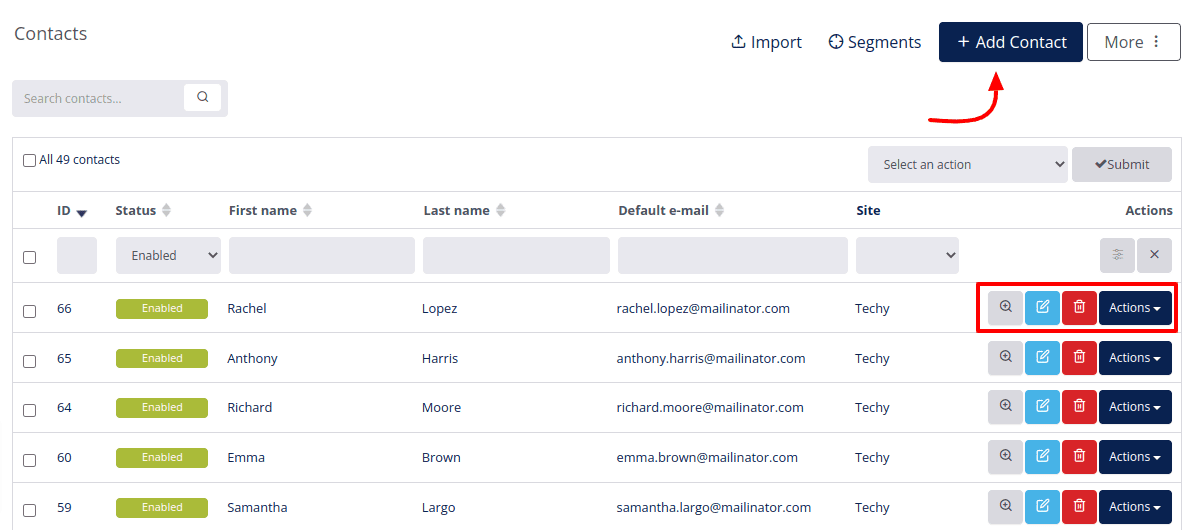
To see your contacts in your DG1 platform go to Marketing section and click Audience. A list of all your contacts appears.
To edit a contact click Edit ![]() .
.
To delete a contact click Delete ![]() .
.
To add a new contact click Add ![]() .
.
You can Export ![]() your contacts to a chosen file.
your contacts to a chosen file.
Viewing your contact’s details can be very useful. To view your contact information click View ![]() .
.
When gathering all information from your contacts and communicating to them through campaigns, you are able to see a 360 degree view of your contacts.
Click View ![]() and there is the library of information you need to know about your contacts.
and there is the library of information you need to know about your contacts.
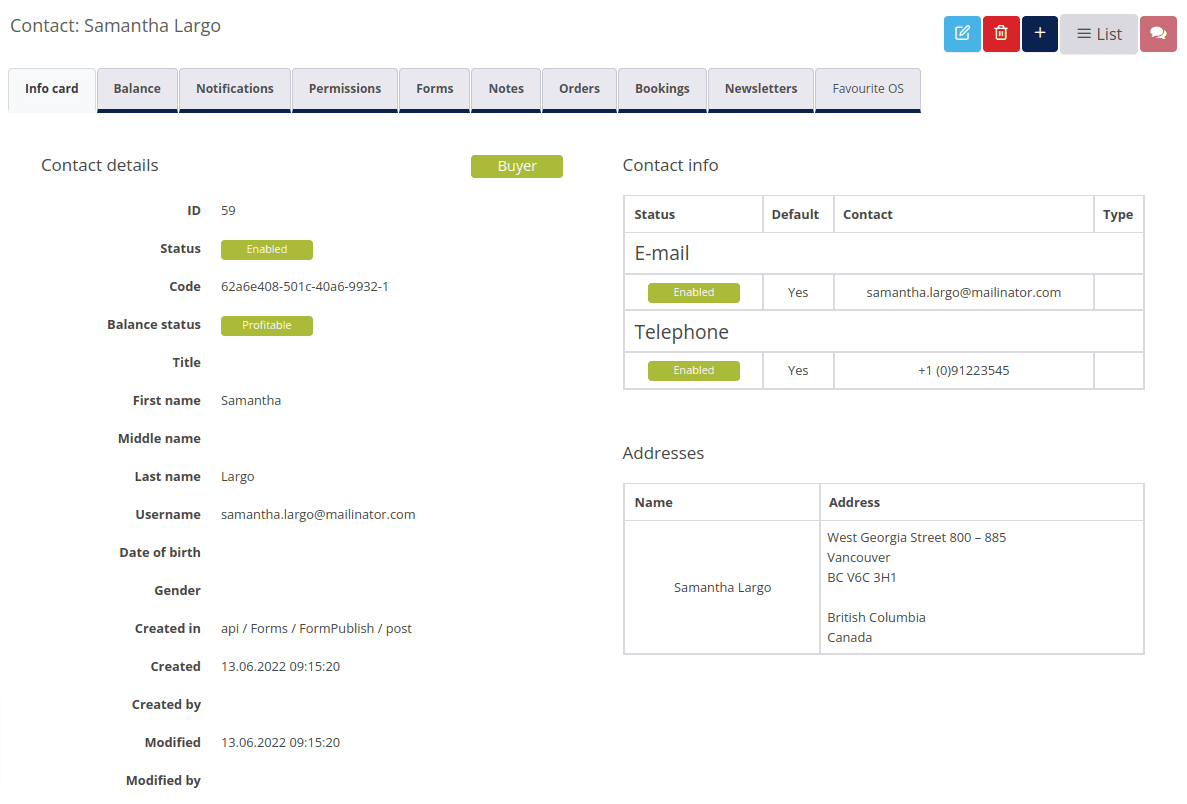
- The first tab is Info card which contains all contact information.
- The extremely useful tab is Balance. Under balance, you can see how much you have spent on your contact through campaigns and how much this contact has spent in your online shop. Through the balance information, you will know exactly whether to target contact more often in your campaigns or not.
- Notifications show which ones are enabled.
- Forms tab shows which forms have been filled by this contact.
- You can add notes under the Notes tab.
- Under Orders you can see all the orders a contact has completed.
- Under Newsletter you can see in which newsletter campaigns this contact was included. By clicking View you can see the info and content of the specific newsletter campaign.
- All the following tabs are called Attribute groups and are custom created by you.

# Adding contact manually
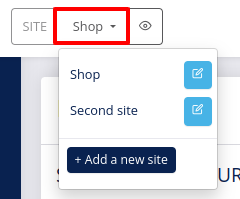
- Navigate to the Site field in the header of your DG1 Admin section. Click the SITE dropdown menu and select the site you will add contact to.
- Go to Marketing section in your DG1 platform.
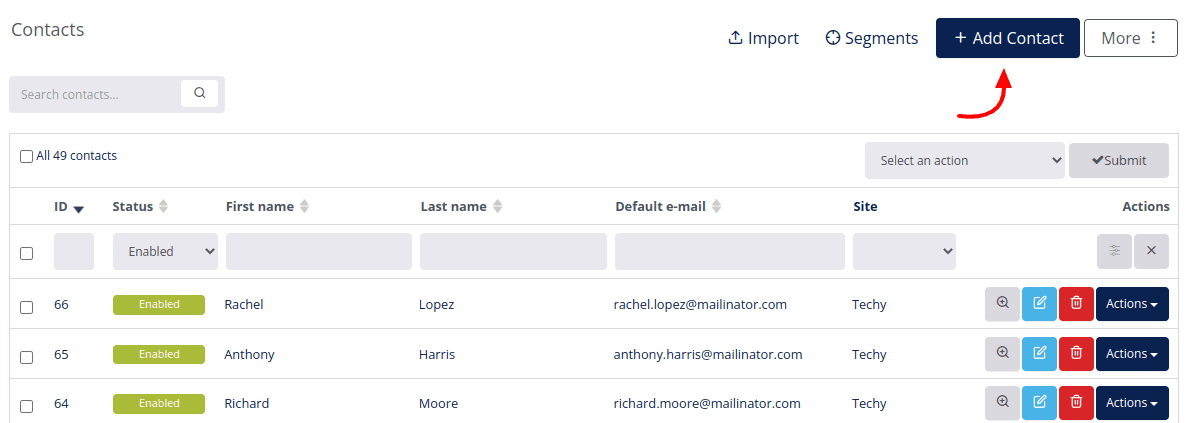
- Click Audience.
- Click Add
 .
.
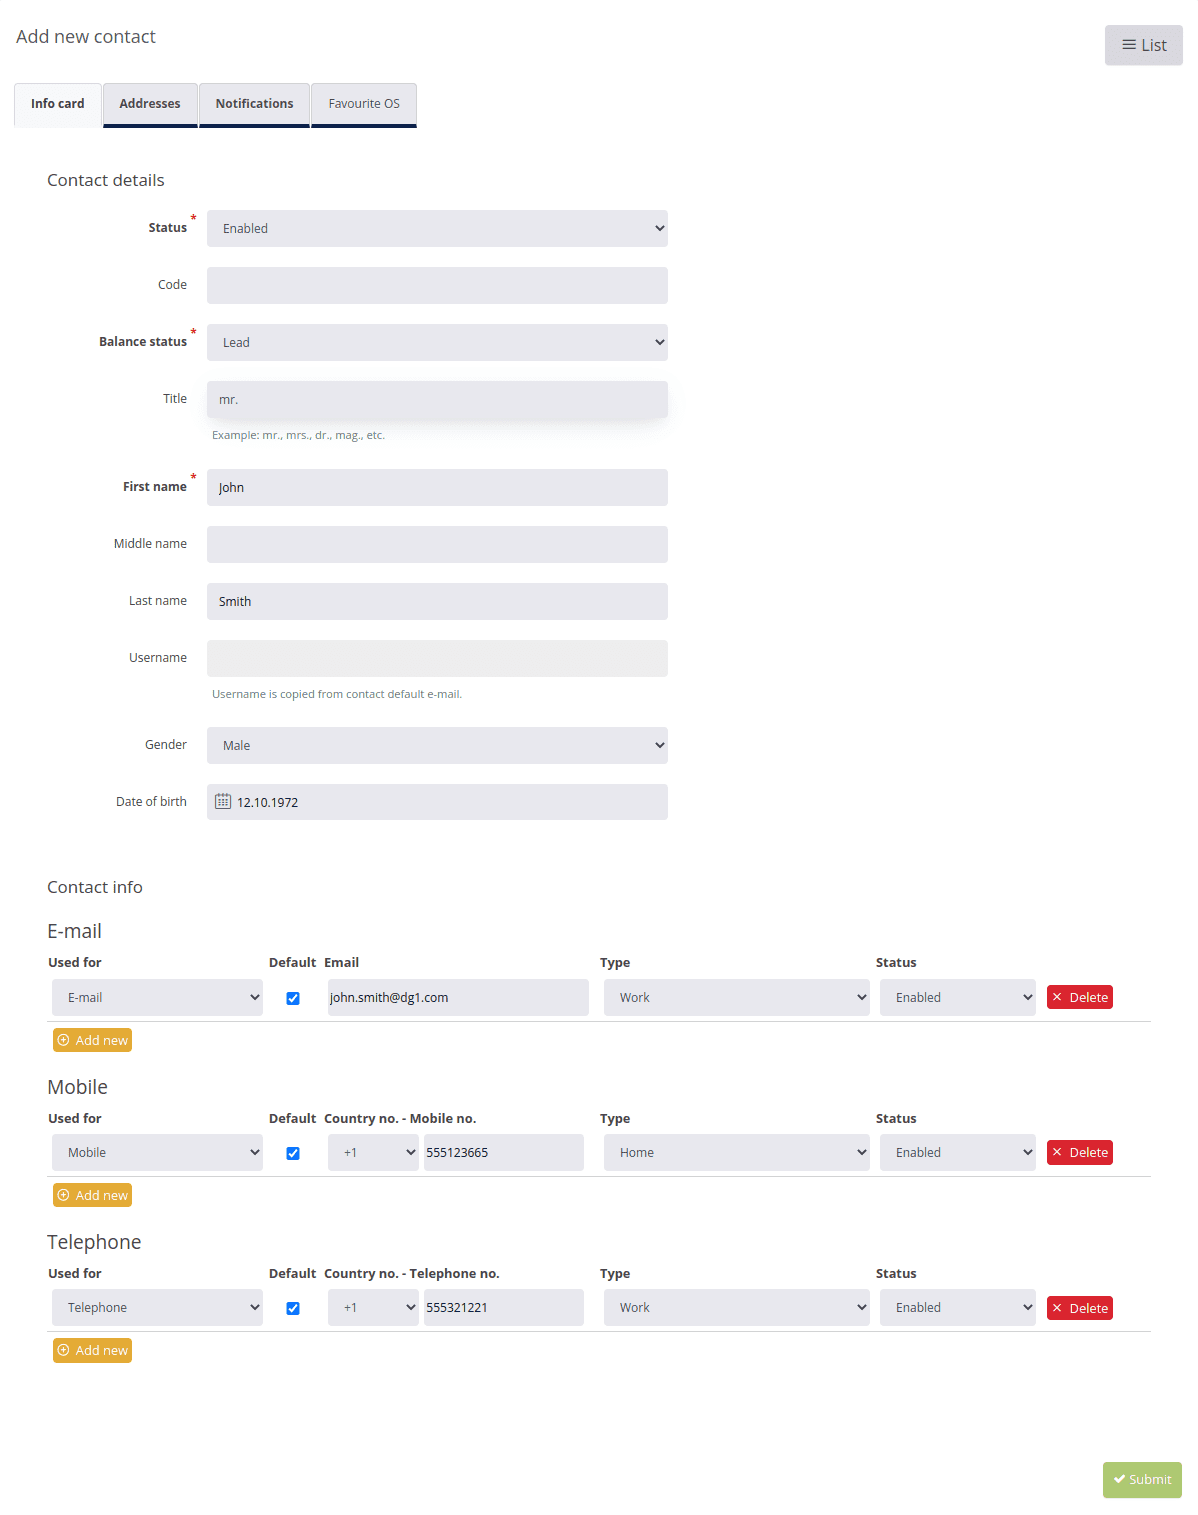
- Enter contact info:
- Enable the status.
- Add an internal Code for your contact (optional).
- Balance status is set to Lead, but you can change it to Buyer.
- Lead is an expression used for contacts who are saved in your contacts but have not completed a purchase yet. Contacts added to your mailing lists through completing a purchase in your shop are automatically added to a default mailing list and are set as Buyers.
- Add Title, First name, Middle name if available, Last name, Gender, Date of birth and Owner.
- The owner is the one who is an administrator and is adding a contact to the list.
- Go to E-mail and click Add new
 .
.
Type in email and select whether it is Home, Work or Custom email. If it is custom just select Custom and add description. Email must be enabled in order to work. You can add multiple emails but make sure to make one of them Default. - Add Mobile phone number. The same type of rules apply as with email.
- Do the same with the telephone.
- Go to Addresses, select marketing and add an address. Add multiple addresses by clicking Add address
 .
.
The attribute groups you added to all your contacts are visible when adding a new contact manually therefore it is easy to fill in the information of all attributes.
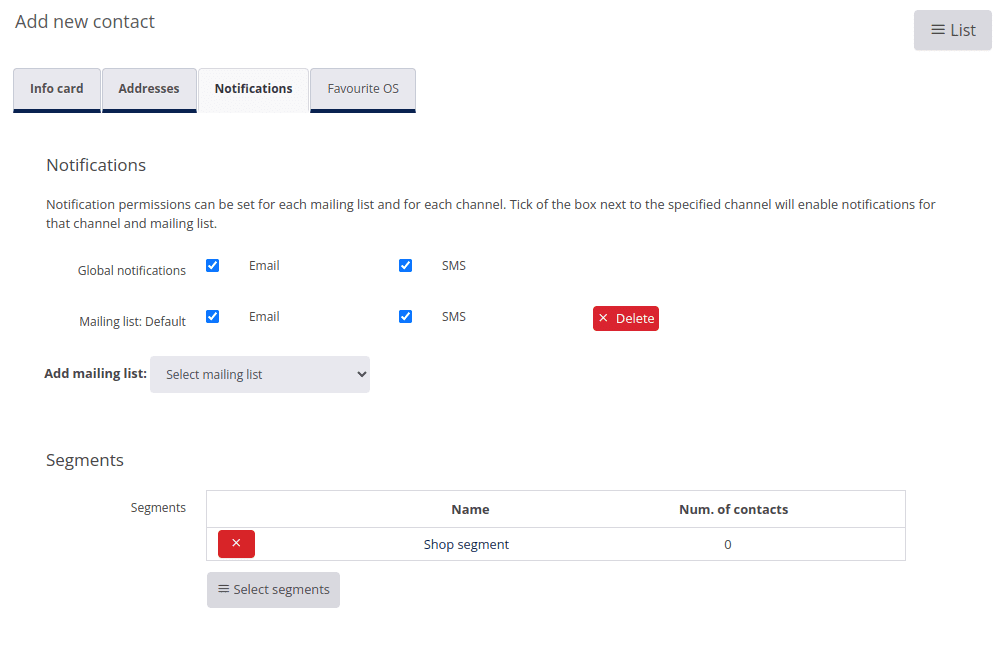
Under Notifications you define permissions to notify contacts about your offers/sales and other marketing actions within specific mailing lists and through specific channels. You have a default mailing list, which is a general sales list. Global notifications will be checked and added automatically.
Note
The best way to gather information about your contacts is through forms. There is a special tutorial about forms so it is highly recommended you see it. Forms are the easiest and the best way to get your potential clients to turn into your buyers. When filling a form, your website visitors will automatically subscribe to your notifications and you will have all the control to direct their data into desirable mailings list and/or segments according to their interests and according to the content of your form.
You have 2 channels that define the type of communication with your contact: E-mail and SMS. If you want to add permissions for notifications, add a mailing list to which you would like to add a contact. By clicking the mailing list you add permissions for notifications. You can subscribe contact to specific channels within the mailing list.
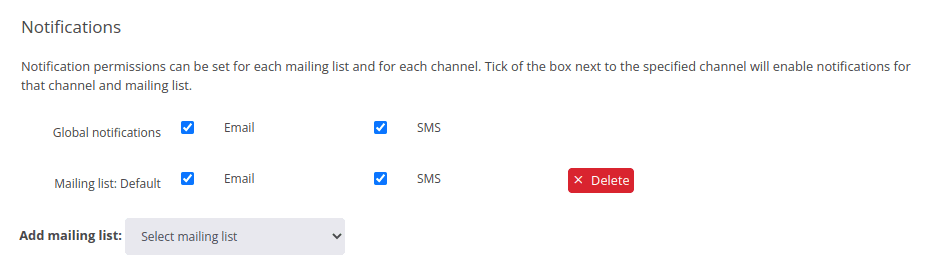
To delete a contact from the mailing list, click Delete ![]() or uncheck all boxes.
or uncheck all boxes.
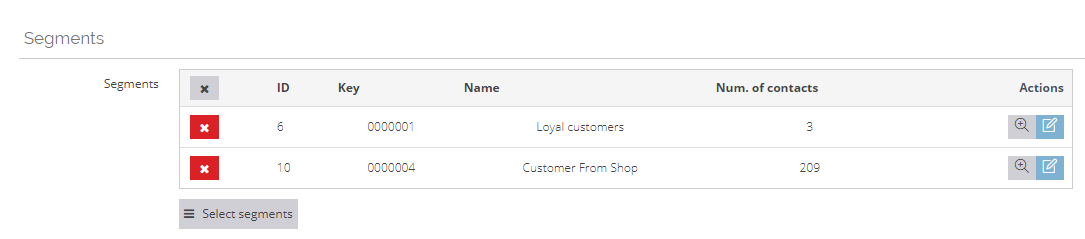
Here you can add a contact to specific to specific Segment.
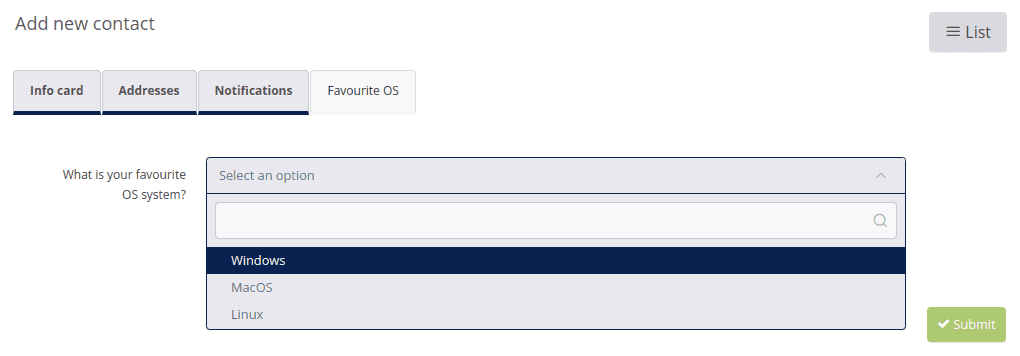
If you have added attribute groups in your marketing section, the last thing you need to do is fill in the information within attribute groups.
- To save your contact click Submit
 .
.