# アクセス
Access structure is an important aspect of website security and user management. In our system, the access structure is based on three key elements: users, user groups, and policies. Policies are created with permissions, and each permission has three levels of access: read, create, and update.
# On this page
# Access structure
Users: Users are individual accounts that can access your website. Each user has a unique username and password that they use to log in to the website. Once logged in, users can perform actions and access features based on their assigned permissions.
User Groups: User groups are collections of users that share common policies. By grouping users together, you can easily manage permissions for multiple users at once. For example, you can create a user group for all of your site's editors or administrators, and then assign the appropriate policies with permissions to that group.
Policies: Policies are sets of rules that determine what actions a user can perform on the website. Each policy is created with specific permissions that determine the level of access that a user or user group has for a specific feature.
Permissions: Permissions are the building blocks of policies. Each permission grants a specific level of access to a particular feature or functionality on the website. Examples of permissions may include "manage user accounts," "create new blog posts," or "edit existing product listings." Each permission has a read, create, and update access level.
Permissions levels:
- Create - create new items
- Read - view/access all items
- Update - edit/delete existing items
- Read Own - users with this access level can only view/access their own items
- Update Own - users with this access level can only edit/delete their own items
Note
Read Own and Update Own permission levels currently only apply to Pages.
Assigning Policies: Policies can be assigned directly to individual users or to user groups. When policies are assigned to a user group, all users within that group inherit permissions specified by the policy. Similarly, when policies are assigned directly to a user, that user gains permissions specified by the policy.
Site Access: Site access is linked directly to individual users and determines which sites they have access to. Users either have access to a site or they do not. This means that users can only perform actions or access features on the sites that they have been granted access to.
Priority: When policies with the same permission are assigned to a user both individually and through a user group, the policy assigned directly to the user takes priority over the policy assigned through the user group. However, when policies are assigned at the same level (i.e., directly on the user or directly on the user group), the policy that denies access to a feature or functionality takes higher priority over the policy that grants access.
To summarize, the access structure of your website is based on users, user groups, and policies, which are created with permissions that determine the level of access for users or user groups. By assigning policies to user groups, you can manage permissions for multiple users at once. By assigning policies directly to users, you can grant specific permissions to individual users. Access levels for each permission ensure that users only have access to the level of functionality that they need to perform their tasks. When policies with the same permission are assigned to both a user and a user group, the policy assigned directly to the user takes priority. However, when policies are assigned at the same level, the policy that denies access takes higher priority over the policy that grants access. Site access ensures that users only have access to the specific sites that they have been granted access to. By carefully managing these elements and priorities, you can ensure that your website is secure and that users only have access to the features and data that they need.
# Manage policy permissions
- Go to Access.

- Navigate to Policies.

- Click +Add Policy
 .
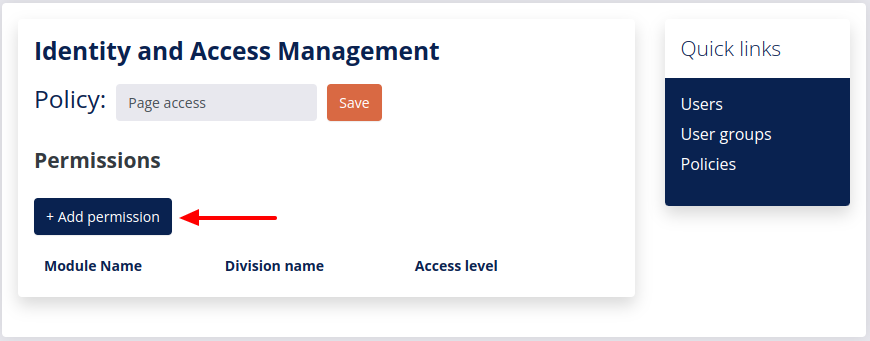
. - Add policy name and click +Add Permission
 .
.
- Select permissions and click Choose
 .
.

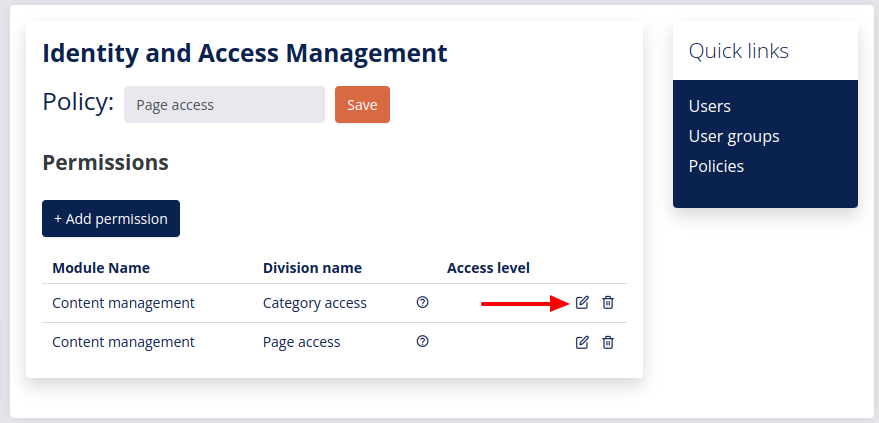
- To edit the permission access level click the edit button
 .
.
- Select access levels (Create, Read, Read own, Update and Update own) and click Choose .
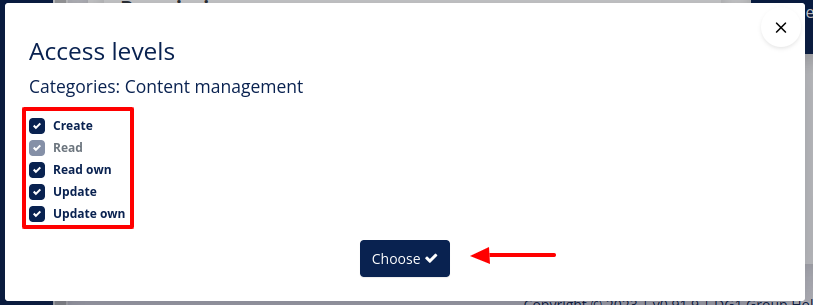
- Confirm the selected access levels by clicking Save
 .
.
# Manage user groups
- Go to Access.
- Navigate to User groups.

- Click +Add group
 .
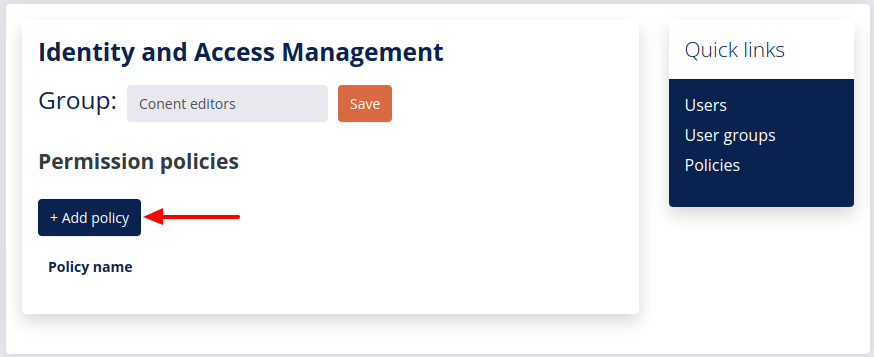
. - Add a Group name and click +Add Policy .
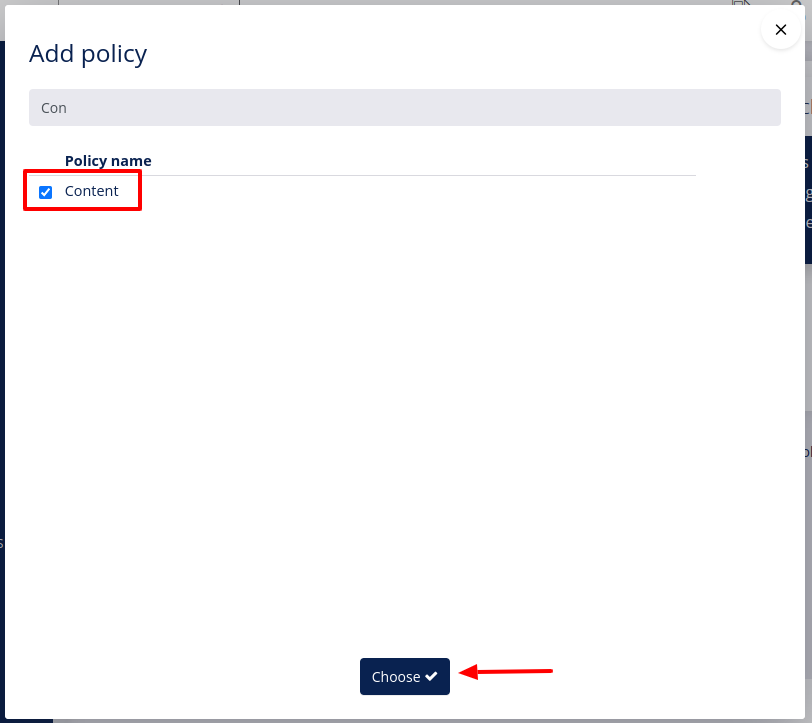
- Select policies and click Choose .
- Click Save .
# Manage users
- Go to Access.
- Click +Add user
 .
. - Fill out all required fields and check the Enabled checkbox.
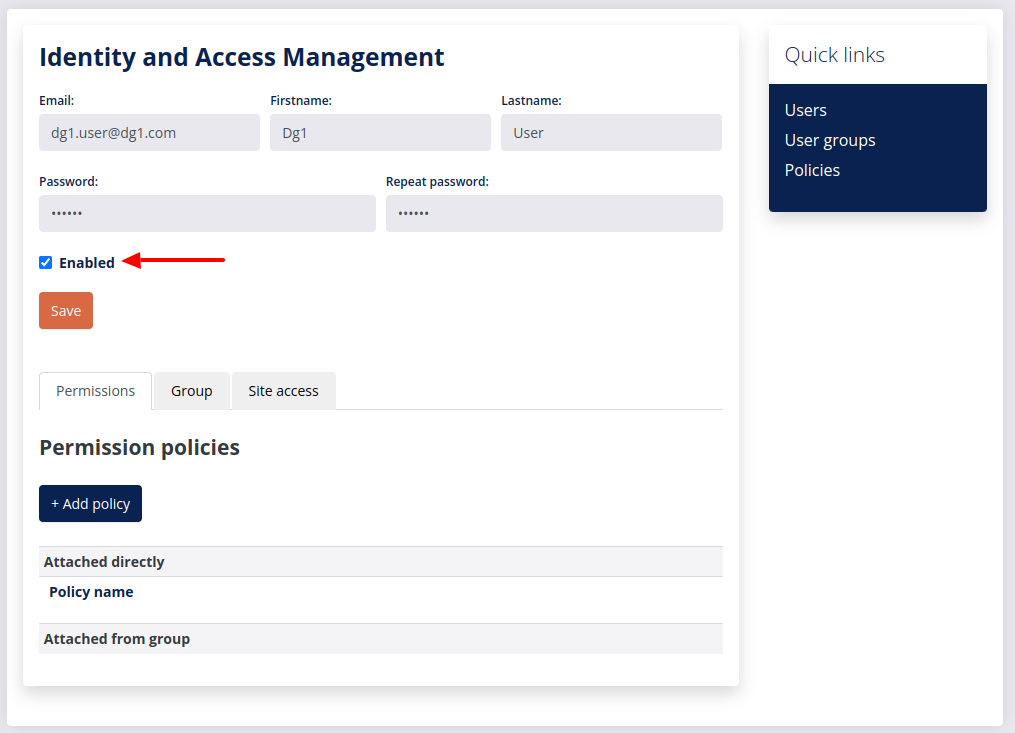
- Click +Add Policy to attach the policy directly to the user.
- Go to the Group tab if you want the user to be added to the group.
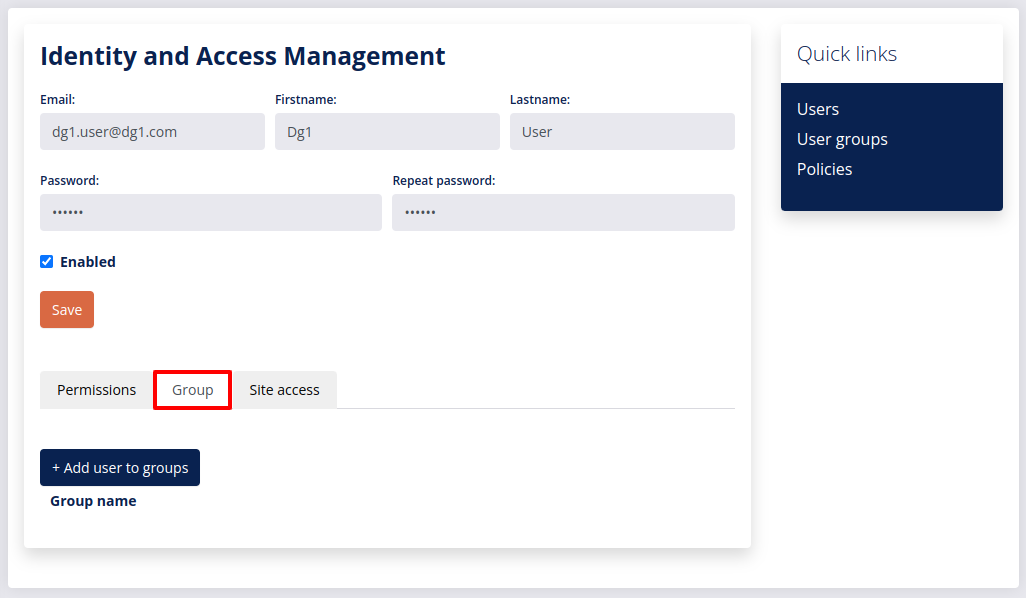
- Click +Add user to groups
 and choose the user group to which the user is to be added.
 - Go to the Site Access tab and select the site(s) you want the user to have access to.
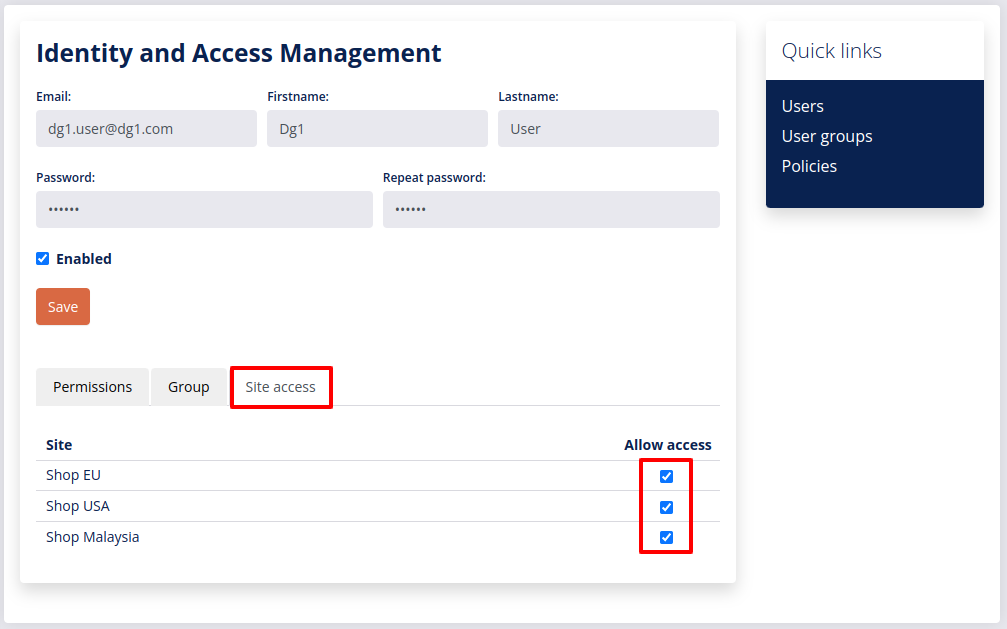
- Click the Save button to save the user.