# Front end visibility - Menus
In your DG1 platform go to WEB CMS section and click Menus.
The Main and Footer menu are there by default for you to edit. Inside main menu you can manage all the content and content types.

You should use menus also in case you wish to rename any main menu buttons or tabs (however you may want to call them) in your front end or if you wish to manage categories and their appearance in the front end.
- Order of what we will explain in this section is:
- How to add new menu button/tab
- How to edit menu buttons
- How to change positions of menu buttons
- How to delete a menu button
- How to manage categories
- Add new menu button/tab
To create a new button with content in Menus go to Menus.
- Edit main menu by clicking Edit
 .
.

- Click Add new Menu item .

Enter following information:
- Write a Name. Example: Our company.
- Choose a Link to (Content, content type, external url, product grid, page, booking or product categories ).
- Content - click Select content and select specific content.
- Content type - choose a content type. Choose between variety of options. Example: Recipes, News, Blog etc.
- External url - copy/paste an external url to specific and desirable page. Example: To specific product
- Product grid - link this menu item to product grid
- Page - choose a page created with the content editor
- Booking - link this menu item to booking
- Product categories - link this menu item to product categories then choose the specific category or subcategory. Note! By linking menu button to categories you also get to choose the layout and design of the category menu. If you don’t choose any, a minimal one will be selected by default. The other two styles include also category images. The last style is the most complex one and it includes a condensed view of all the categories and their subcategories.
- Additional styles - Highlight the menu item. In the front end the menu button will be highlighted according to your theme style.
- Status - Enable or disable this menu item.
To save a new menu item click Submit
 .
.Edit menu buttons
- To rename a menu button, you have to click it and the edit form will appear.
- You can change Name. Example: Company.
- You can change Content by replacing the existing with a new one.
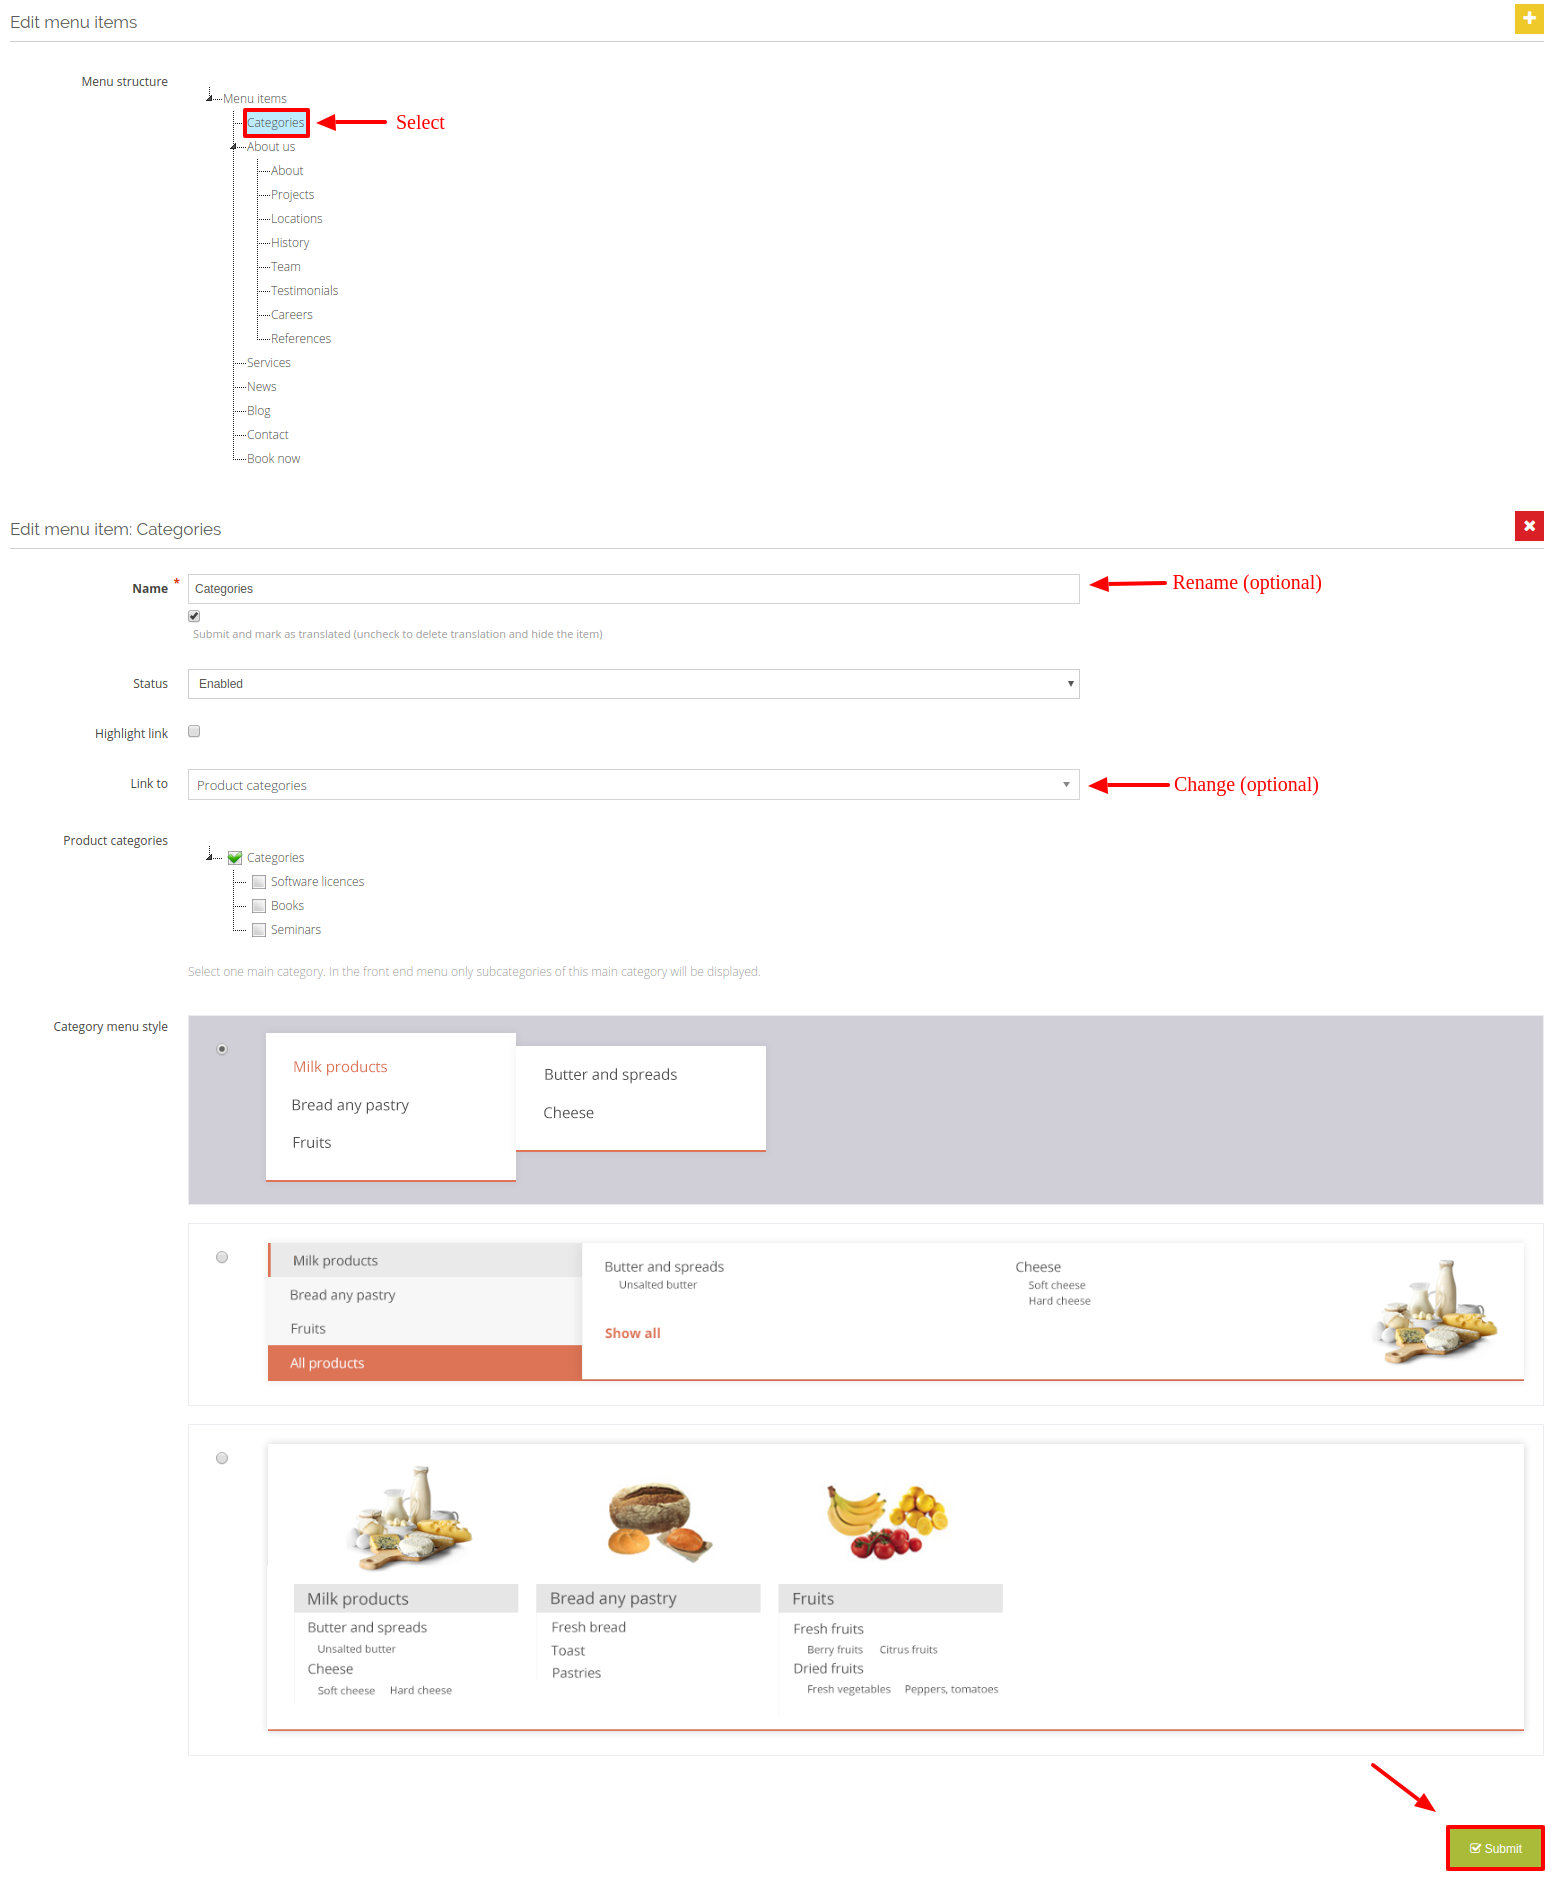
Click Submit ![]() , when you finish editing.
, when you finish editing.
- Change positions of menu buttons/tabs
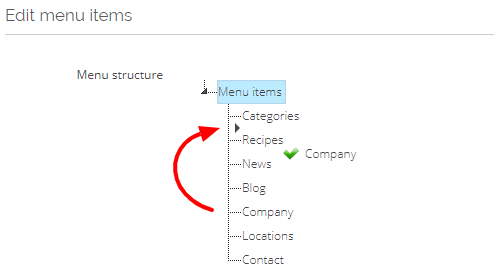
To change the menu button position, all you have to do is click and hold it (example: Company) with your mouse and drag and drop it to menu item in your Menu structure.
- Delete a menu button/tab
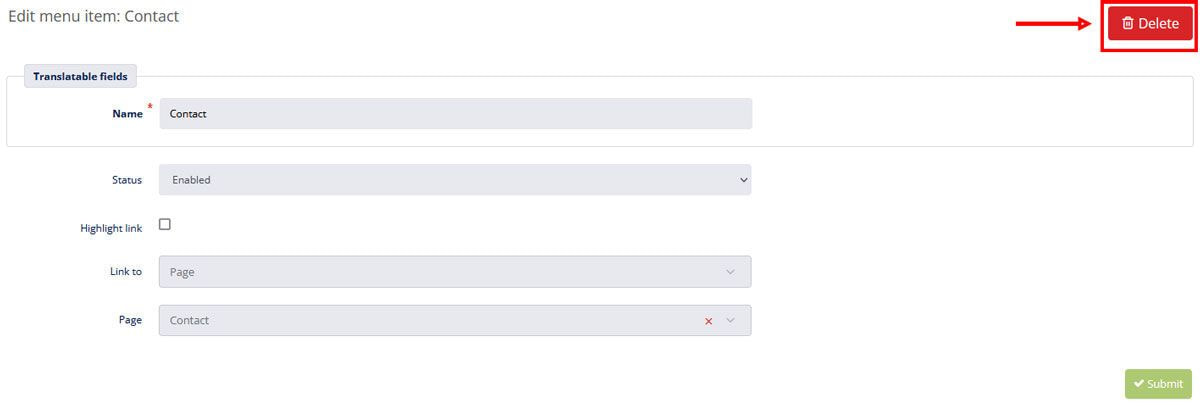
To delete a menu item click Delete ![]() .
.
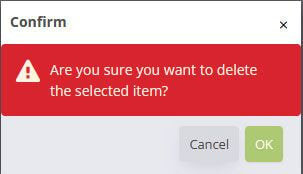
Confirm it with OK.
- Manage categories
Categories have a special position in the Menus because their appearance will also affect the style of the categories.
If you leave all your categories as they are and you wish to show ALL of them in the front end, they will be presented in a MEGA MENU style (see picture).

But if you wish to limit which categories will be shown in the front end, then click the Categories in your menu structure. All the categories and their subcategories will appear.
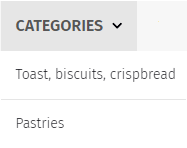
If you click to whichever main category in the tree structure, then ONLY that category and the following categories will appear in the front end. (see picture).
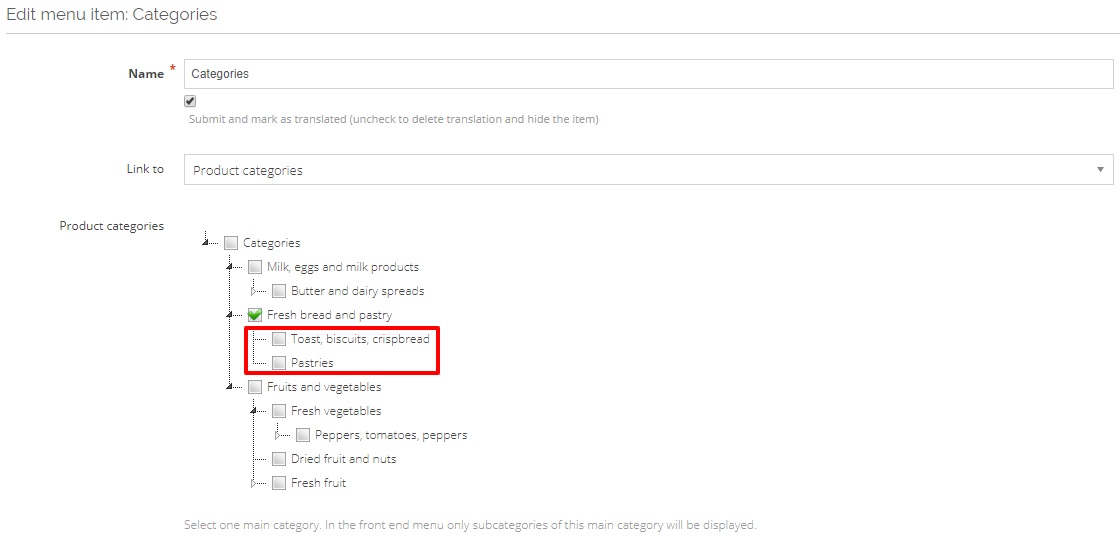
Also the style of the menu will change to SIMPLE (see picture)
To rename the word Categories into something else, click on the Categories in your menu structure. The edit form will appear below. Change the name (Example: Our products, Shop, Buy now) and confirm the change with submit.
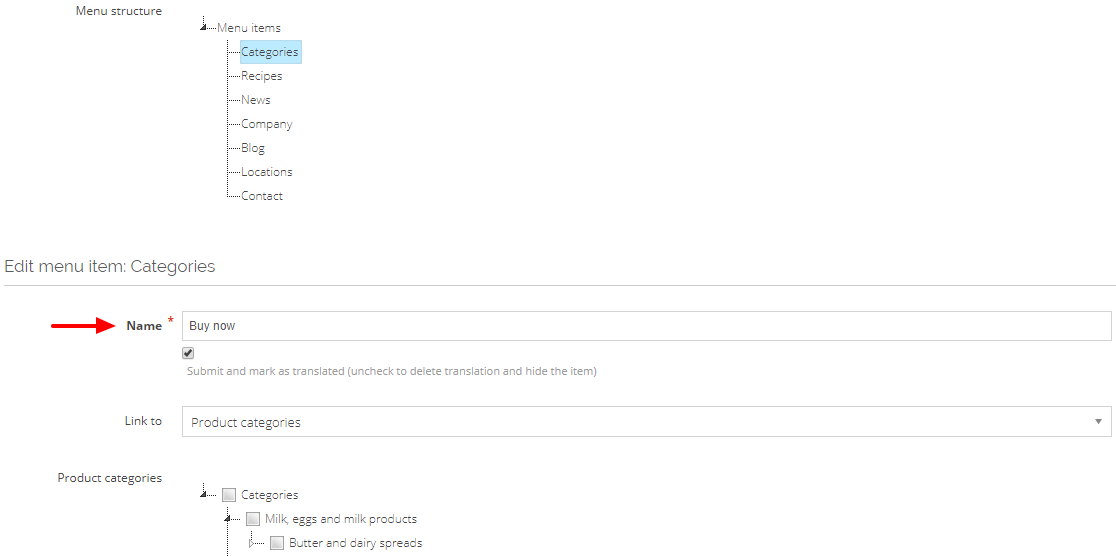
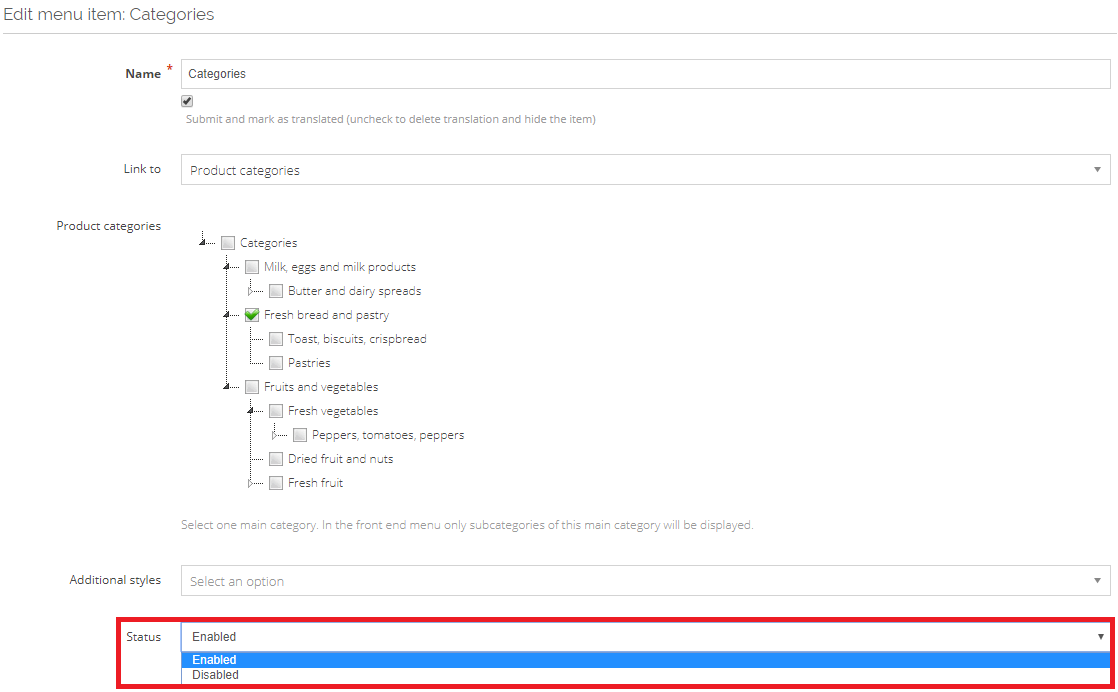
If you wish to HIDE categories from your front end click on the Categories in your menu structure. The edit form will appear. Change the status from enabled to disabled and the categories together with the menu button will disappear from your front end.
